Relaxly - Unlimited Hotel Booking Platform v 1.2.3
Thank you for purchasing our product.
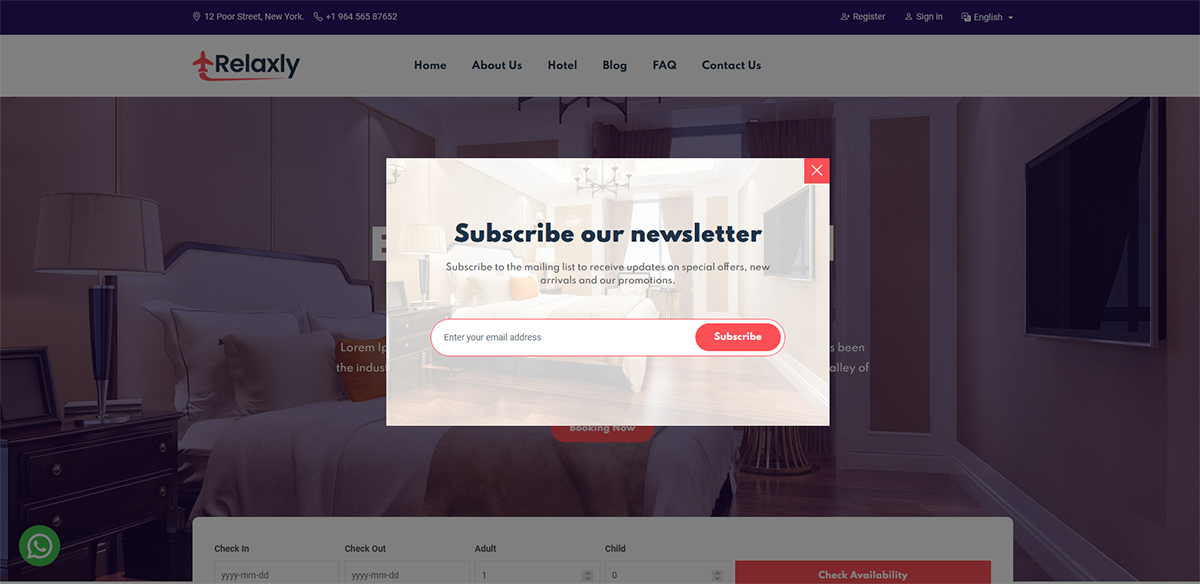
Frontend link: https://relaxly.themeposh.net/
Admin:
Link: https://relaxly.themeposh.net/login
User: admin@themeposh.xyz
Password: admin123456
Receptionist:
Link: https://relaxly.themeposh.net/login
User: receptionist@themeposh.xyz
Password: receptionist123456
Customer:
Link: https://relaxly.themeposh.net/user/login
User: customer@gmail.com
Password: customer123456
- Last Update: 25/03/2026
- Author: ThemePosh
- Email: tspprt7@gmail.com
Thank you for your interest in our product. If you have any questions that are beyond the scope of this help file, please feel free to contact with support page Relaxly - Unlimited Hotel Booking Platform Support or for very critical issue, you can contact with email: tspprt7@gmail.com [Email reply can be delay]. Thank you so much.
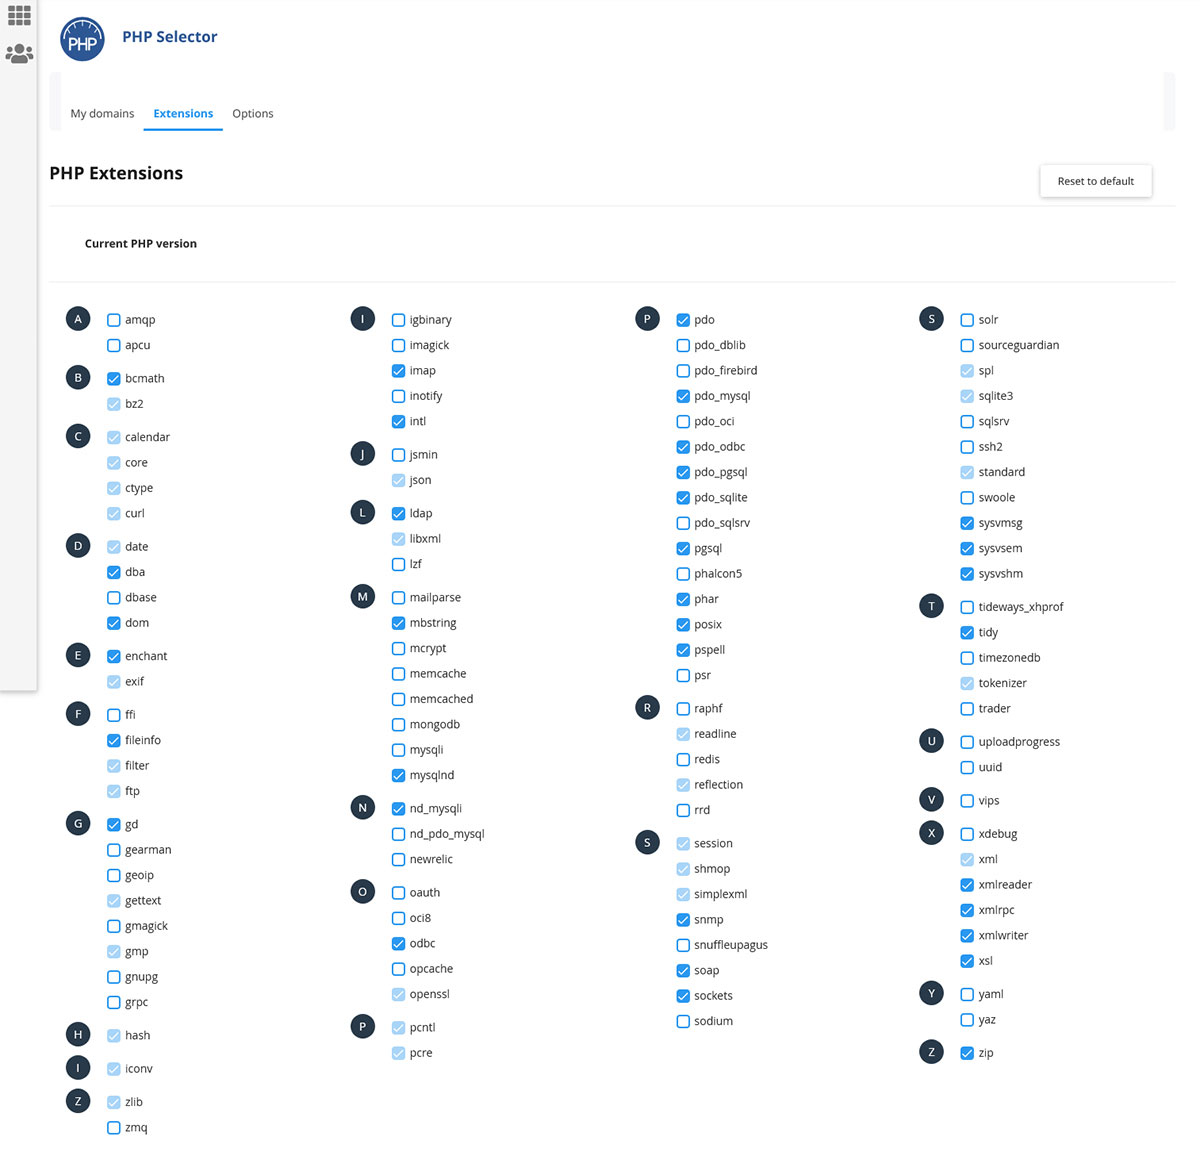
- PHP 8.3
- BCMath PHP Extension
- Ctype PHP Extension
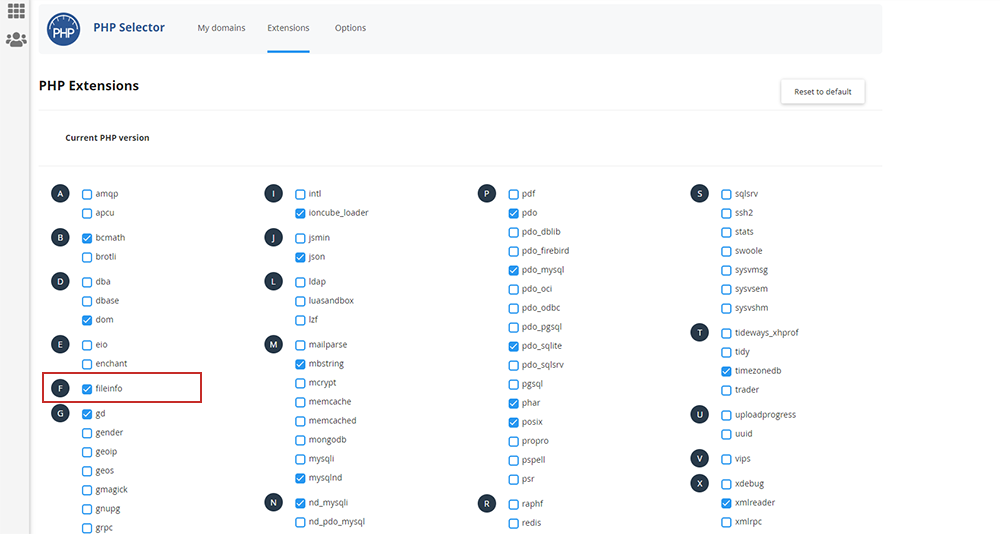
- Fileinfo PHP extension
- JSON PHP Extension
- Mbstring PHP Extension
- OpenSSL PHP Extension
- PDO PHP Extension
- Tokenizer PHP Extension
- XML PHP Extension
- GD PHP Extension
- PHP CURL Module Enable
Note: Please check extensions installed/enabled in your server. If your server is not extensions installed/enabled then install/enabled in your server.

After you’ve downloaded the main item archive from CodeCanyon you’ll see the following items inside:
- relaxly-[version-number] folder the actual files that you will need to upload into your web server setup.
- demo_database folder It contains the database you need to install on your server.
- documentation folder Documentation files
Please follow the steps below:
Step-1:
- You must first buy a domain name. This will be the name of your site. For example http://domain.com
- Then you should buy a Shared hosting or VPS hosting. This is completely your choice. Shared hosting is the one we recommend to save money for this project.
- Note: When buying your hosting, please do not forget to mark the Linux Operating System.
Step-2:
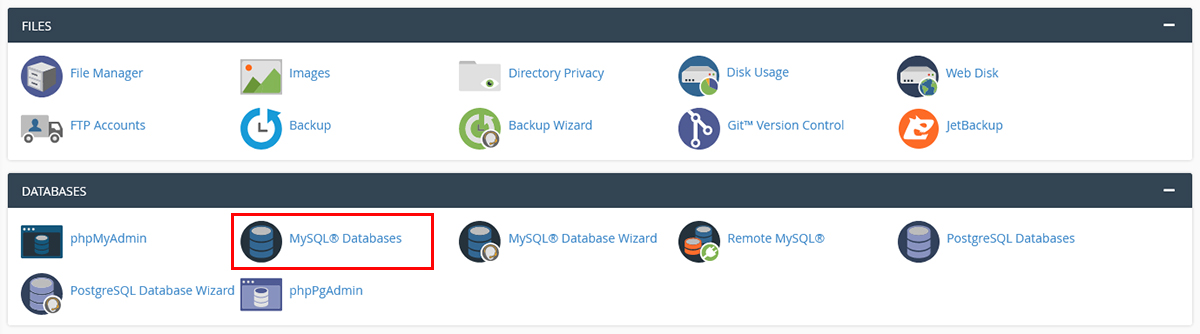
- There is a cPanel on the server you bought. First, login to cPanel. You will see the field below.
- Click on the MySQL® Databases
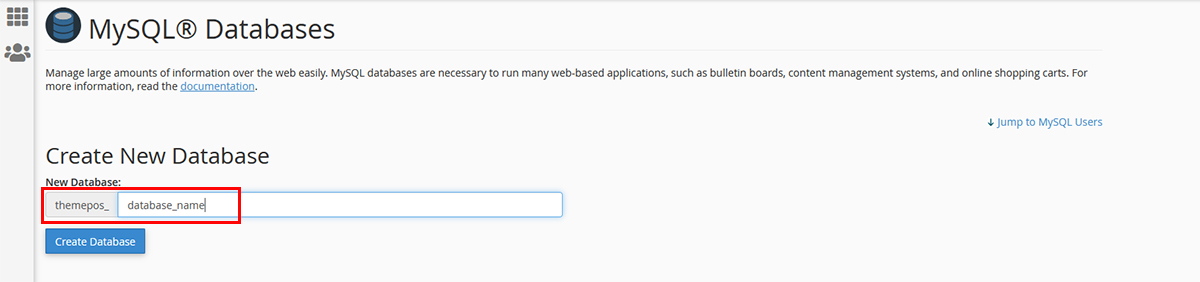
Step-3:
- Type a New Database Name and click on the Create Database button.
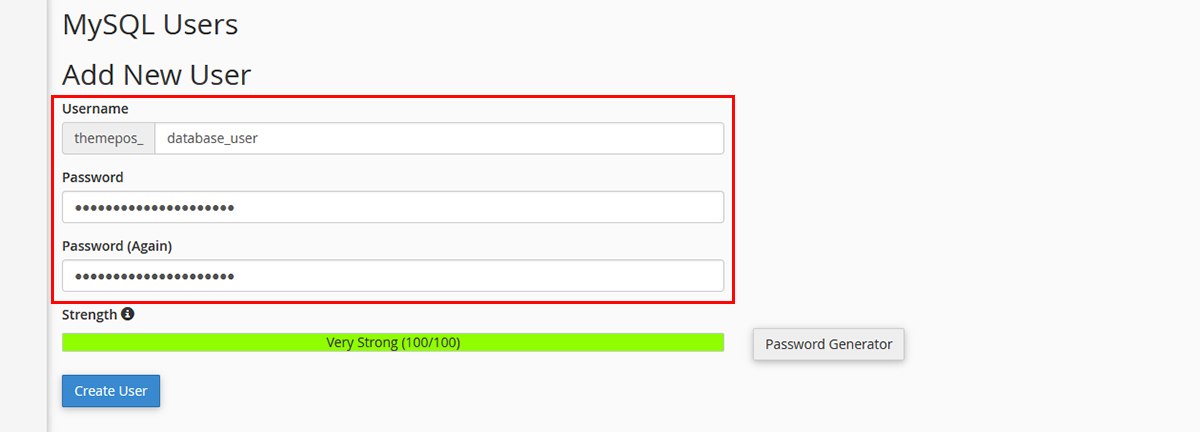
Step-4:
- Find MySQL Users title on the same page.
- Type a new Username and Password
- Click on the Create User button.
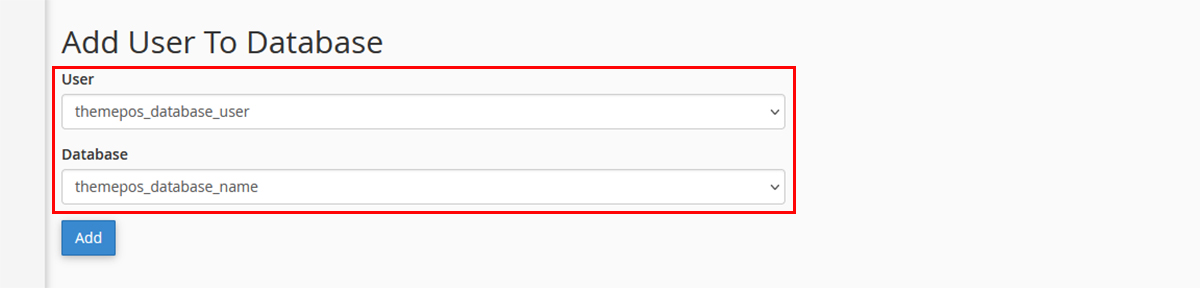
Step-5:
- Find Add User To Database title on the same page.
- Select User and Database
- Click on the Add button.
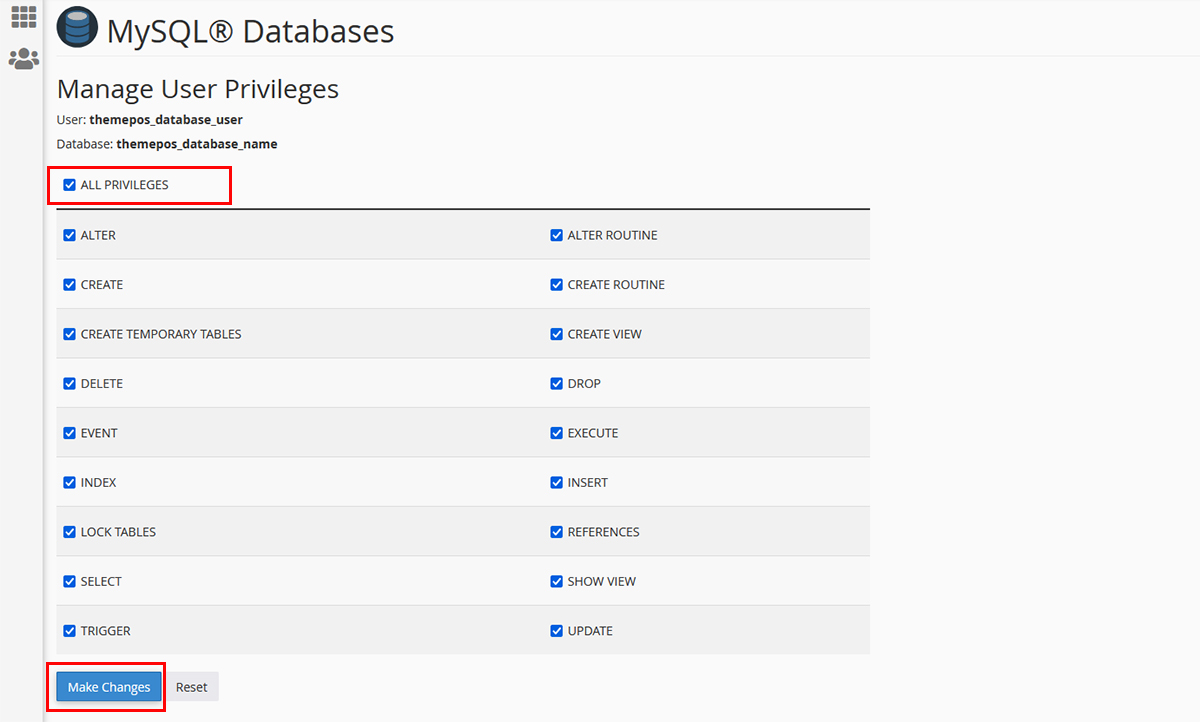
Step-6:
- On the page you are directed to, please select ALL PRIVILEGES checkbox and then click Make Changes button.
Step-7:
- Come back to the homepage and click on the phpMyAdmin button.

Step-8:
- When you click on the database, you will see that the tables have not been created yet.

Step-9:
- Click on the Import button.
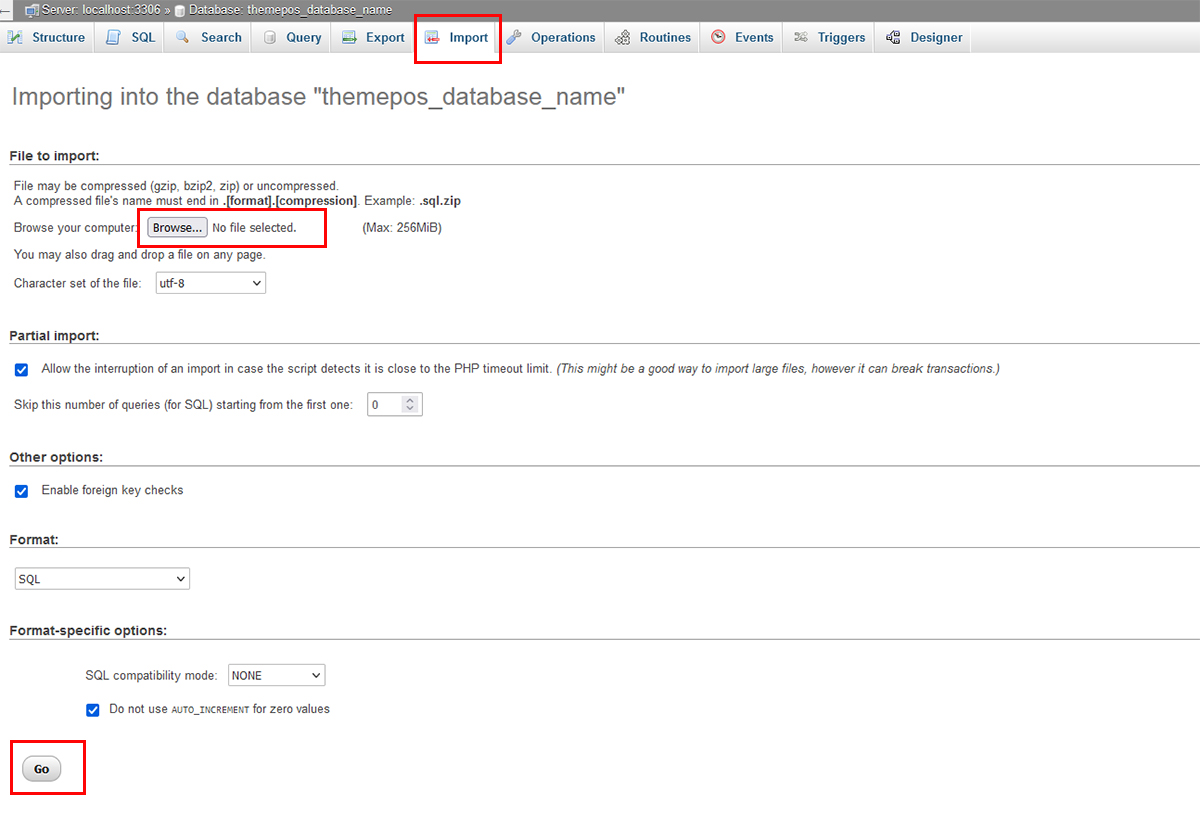
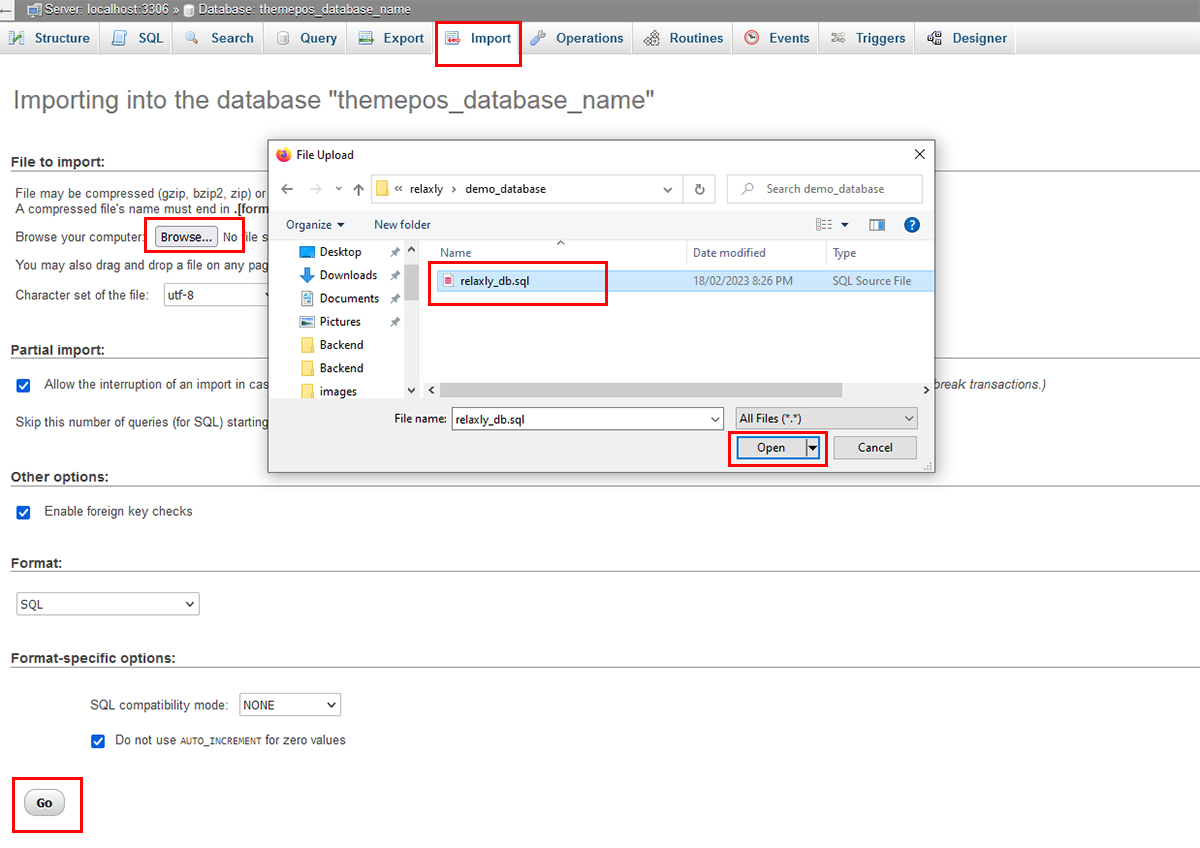
Step-10:
- Please add the database you downloaded from CodeCanyon with the following operations, respectively.
Step-11:
- Your tables have been added to your database.

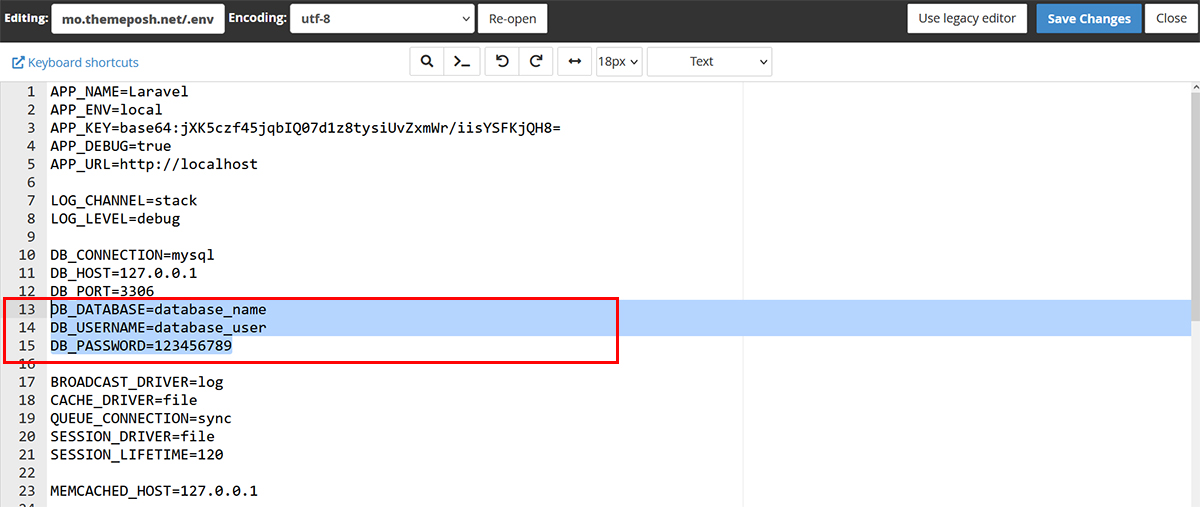
Note: The created database information is as follows. You can use your own customization.
- Database: database_name
- User: database_user
- Password: 123456789
Your database is now ready to be used. That's all.
Step-12:
- Come back to the homepage and click on the File Manager button.

Step-13:
- Select your project upload directory.

Step-14:
- Click on the Upload button.

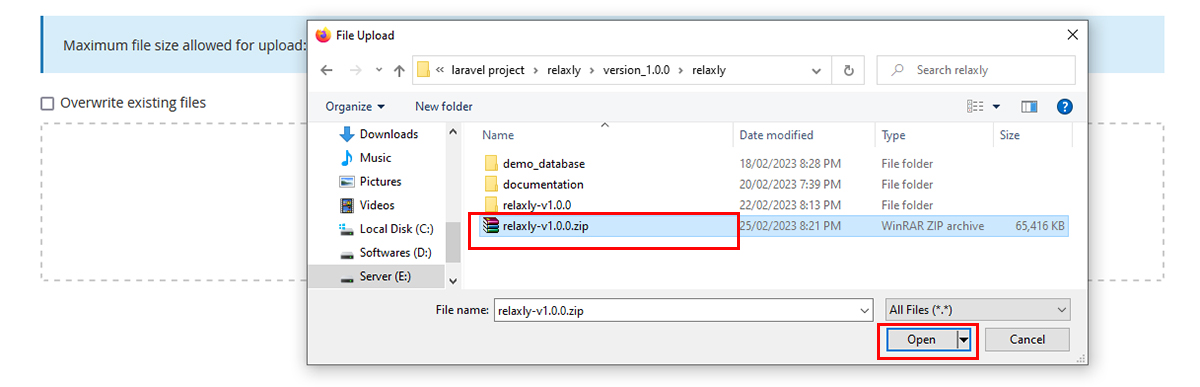
Step-15:
- Click on the Select File button.

Step-16:
- Start the installation by zipping the relaxly-[version-number] folder you downloaded from the CodeCanyon.
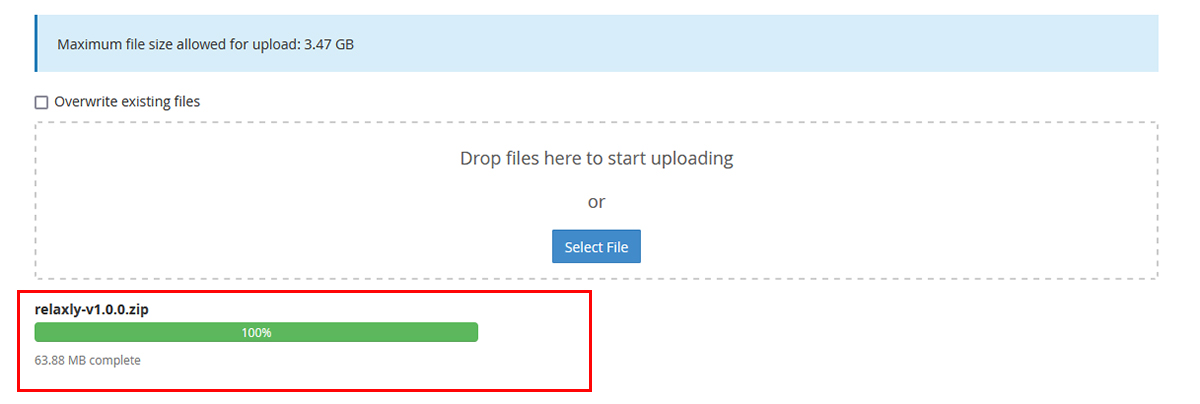
Step-17:
- Make sure the installation is complete and continue to the next step.
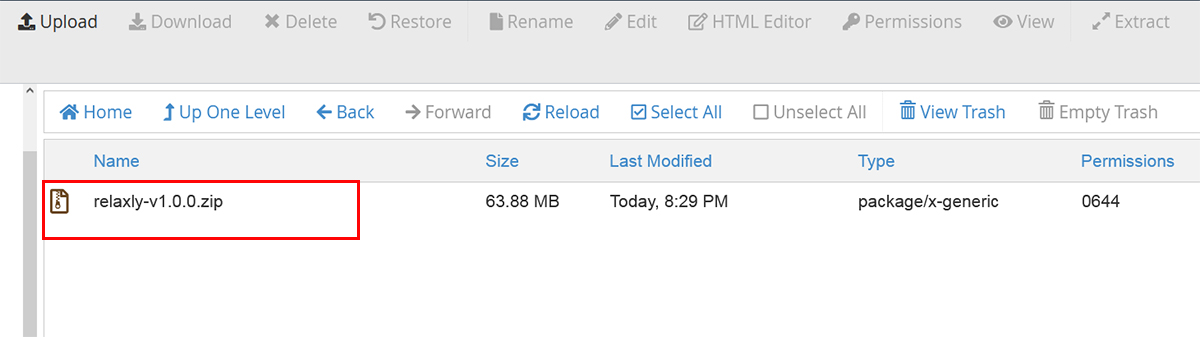
Step-18:
- Come to the File Manager and click on the demo.domainname.com folder again. You will see the space below.
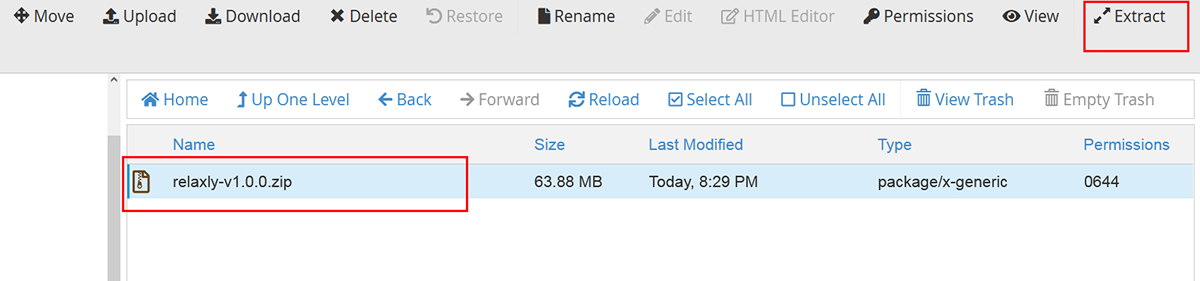
Step-19:
- Click on the Extract button.
Step-20:
- Your file will be extract as below.
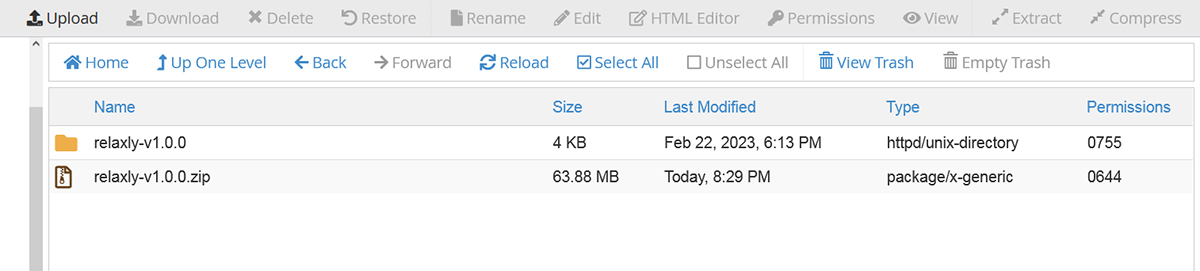
Step-21:
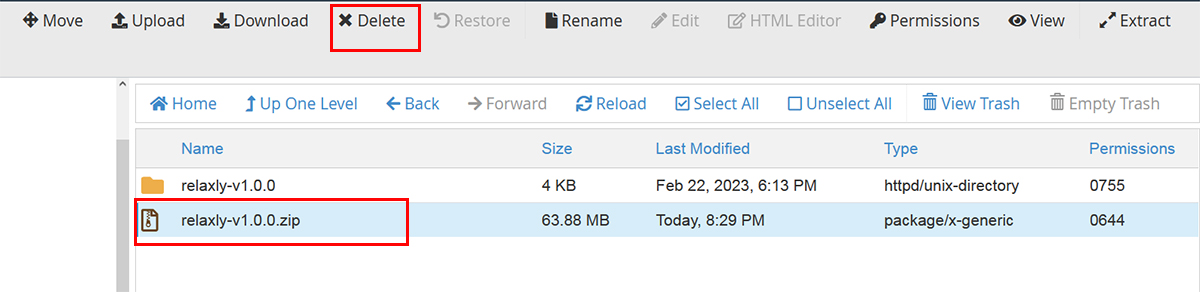
- You can delete the relaxly-[version-number].zip folder.
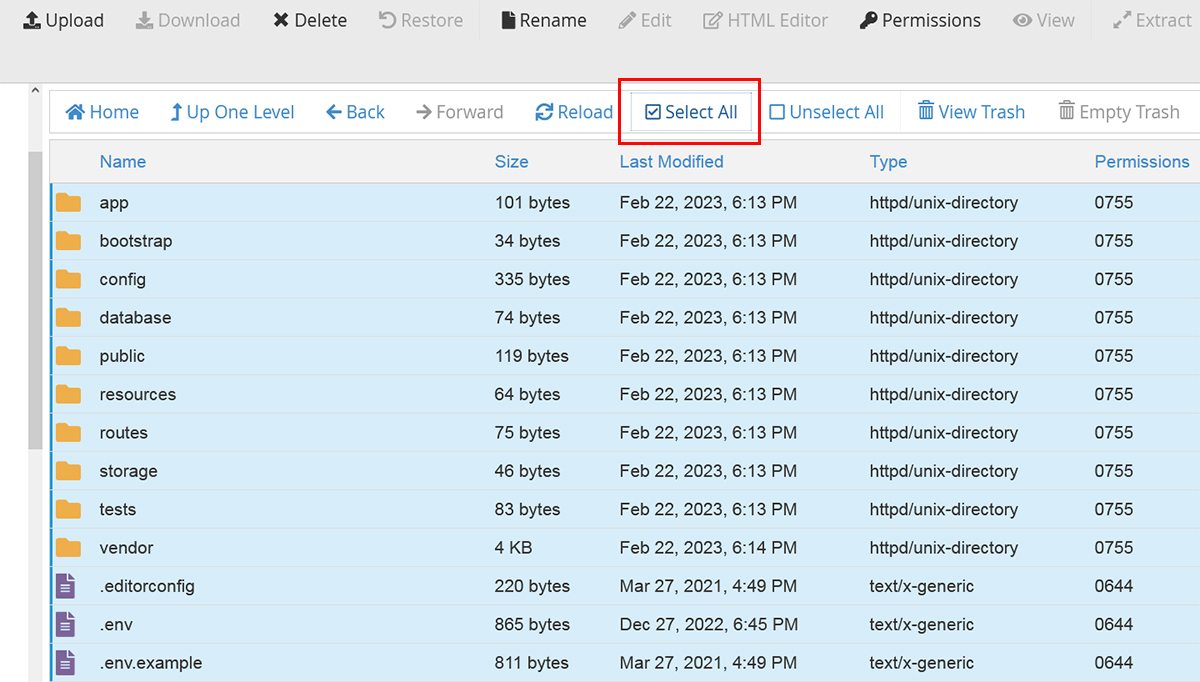
Step-22:
- Into relaxly-[version-number] folder and click on the Select All button.
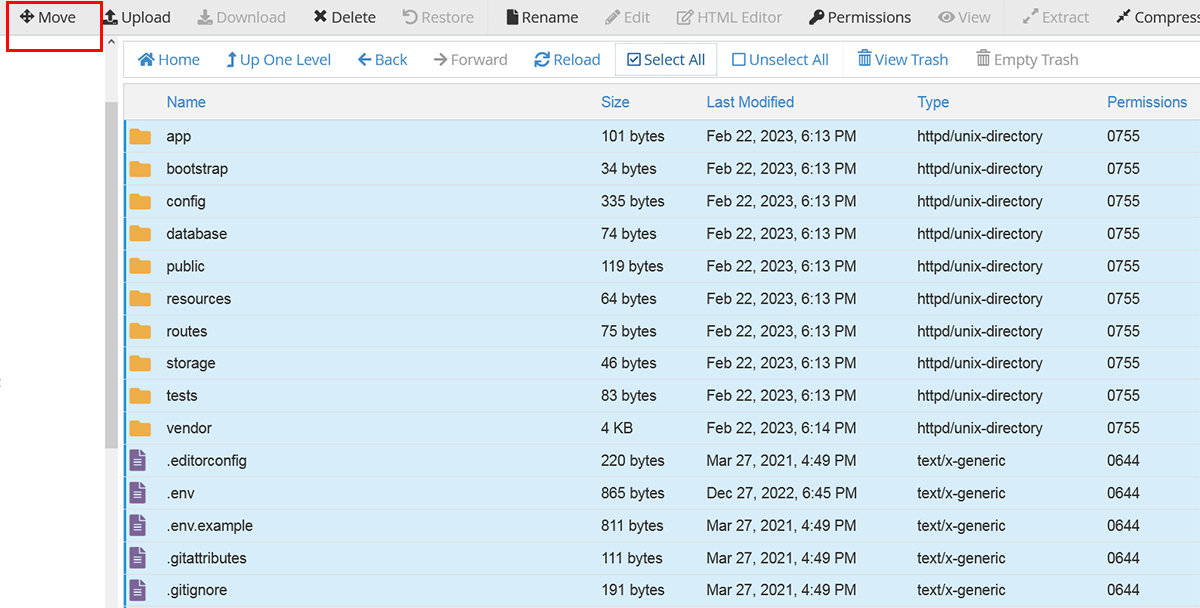
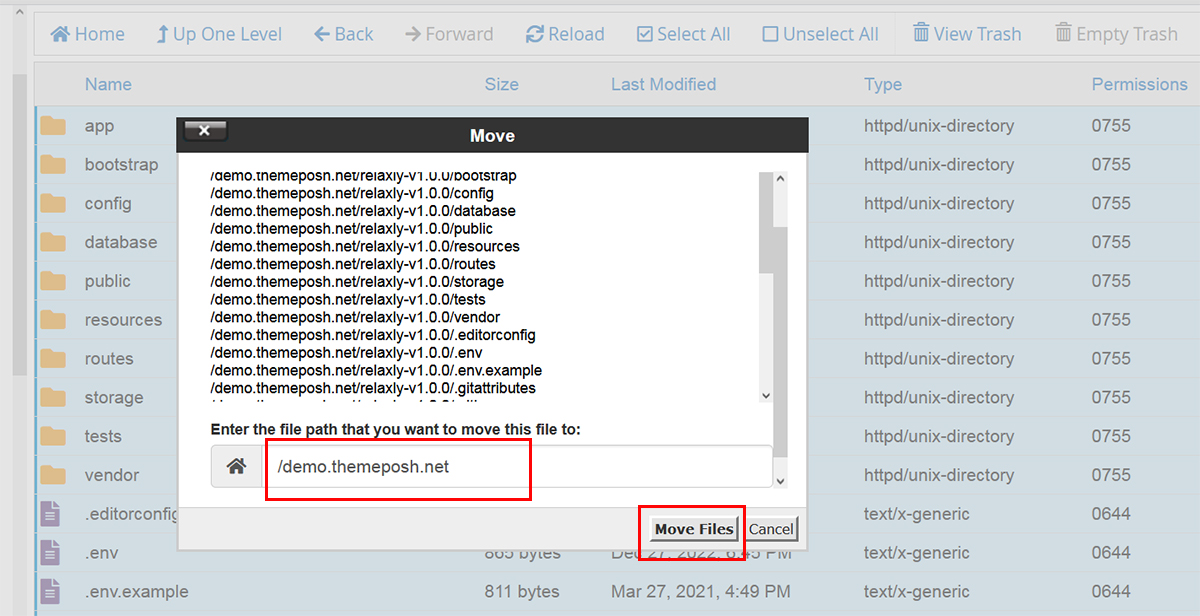
Step-23:
- Click on the Move button.
Step-24:
- Click on the Move File(s) button.
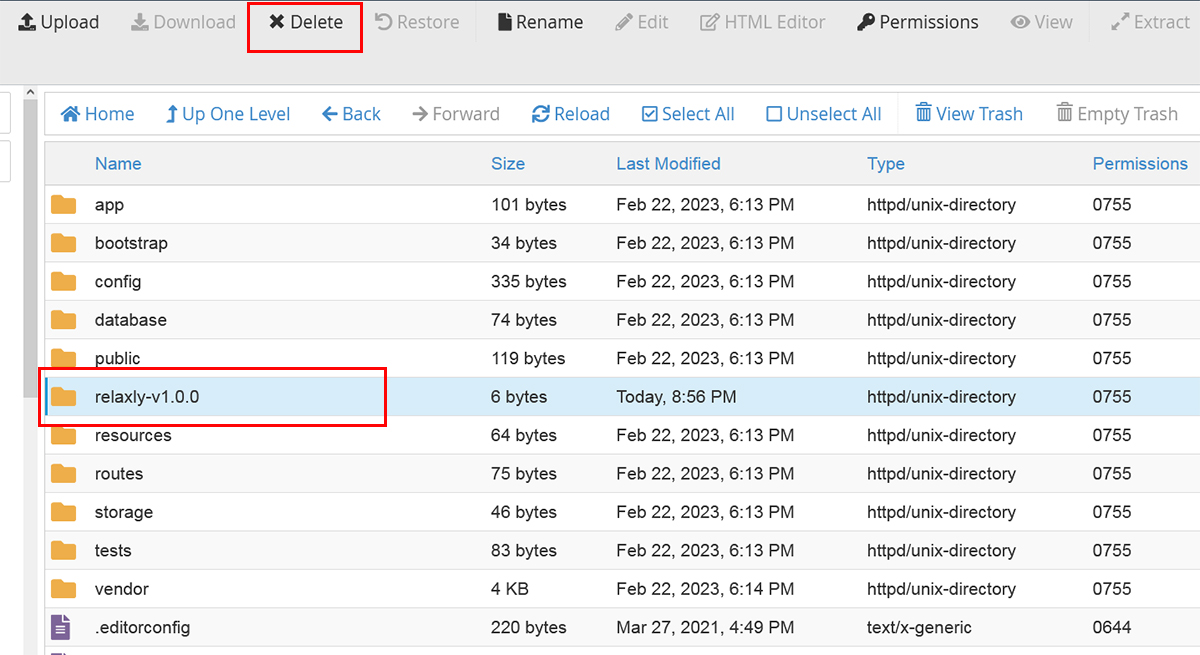
Step-25:
- You can delete the relaxly-[version-number] folder.
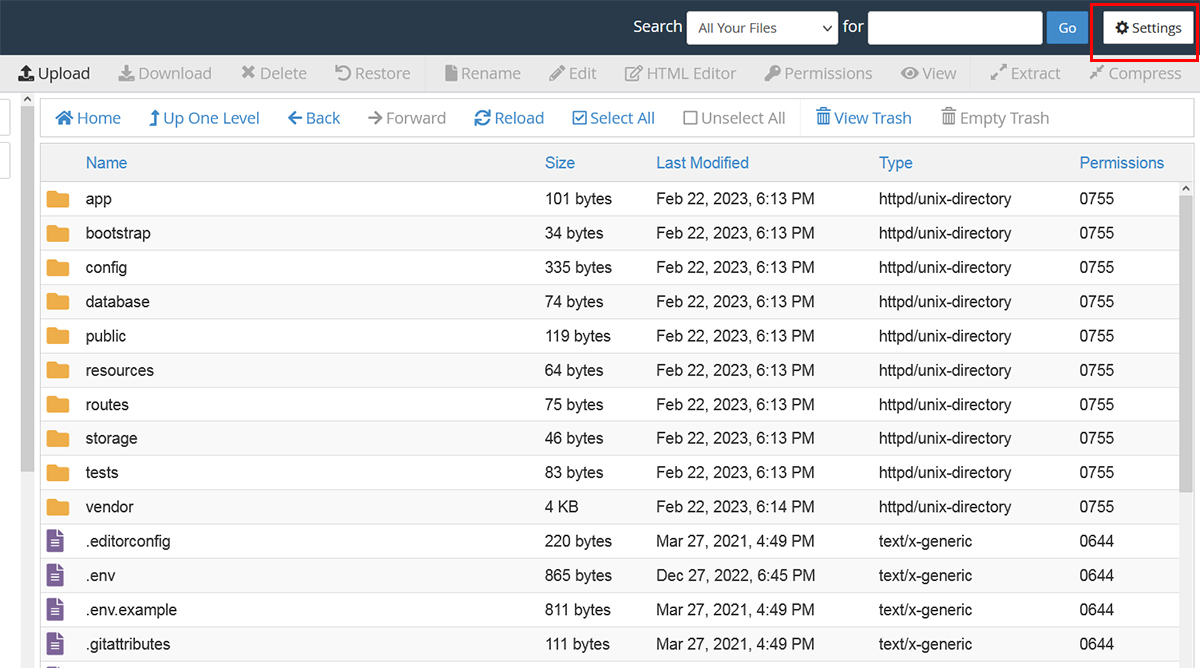
Step-26:
- Don't worry if you can't see some files.
- If you can't see files like .env. Click on the Settings button in the upper right.
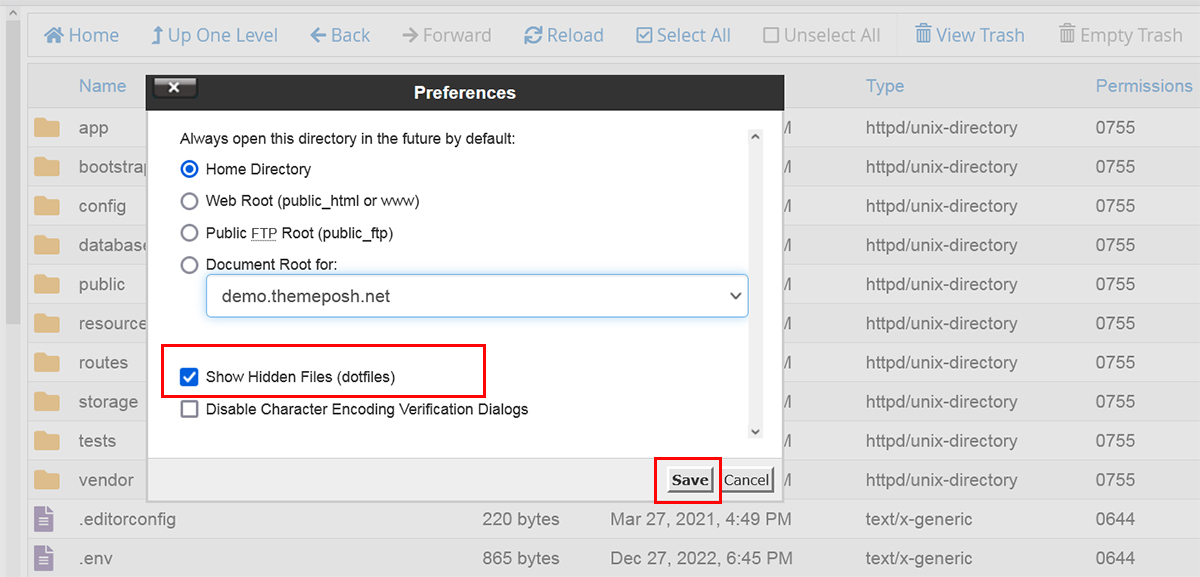
Step-27:
- Click Show Hidden Files and save.
Step-28:
- To edit the .env file, proceed as follows.
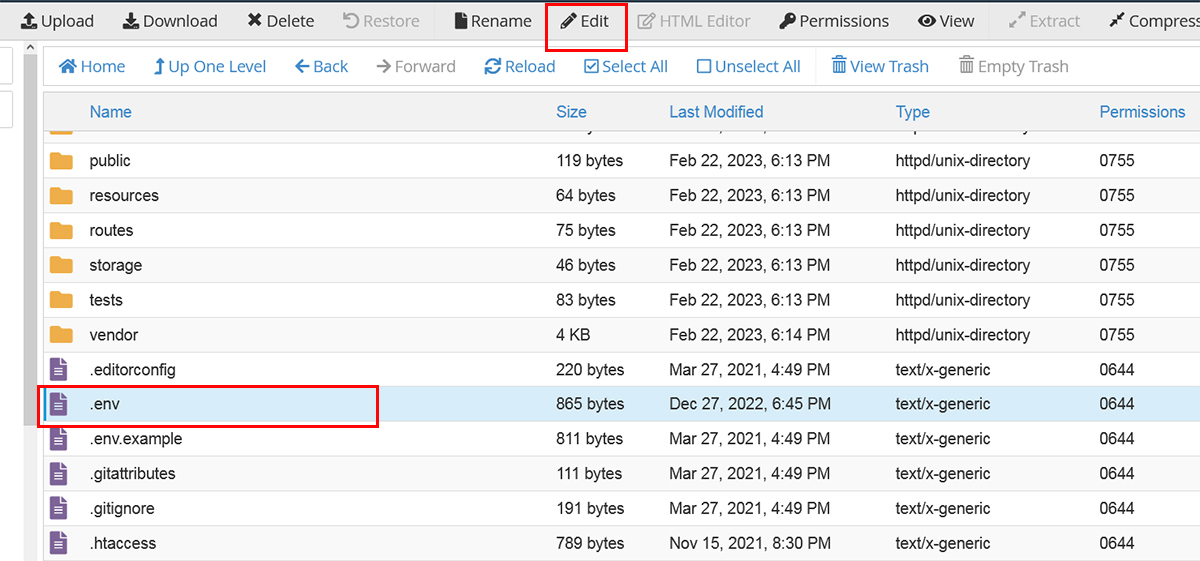
Step-29:
- You change your database connection and click Save Changes button.
Step-30:
- Open the homepage again in a new tab. Then click on the MultiPHP Manager button.

Step-31:
- Please select PHP 8.3 Version.

Step-32:
- Congratulations! Your application is ready.
- Open your browser and enter login url https://yourdomain.com
- Admin:
- Link: https://yourdomain.com/login
- Username: admin@themeposh.xyz
- Password: admin123456
- Receptionist:
- Link: https://yourdomain.com/login
- Username: receptionist@themeposh.xyz
- Password: receptionist123456
- Customer:
- Link: https://yourdomain.com/user/login
- Username: customer@gmail.com
- Password: customer123456
Step-33:
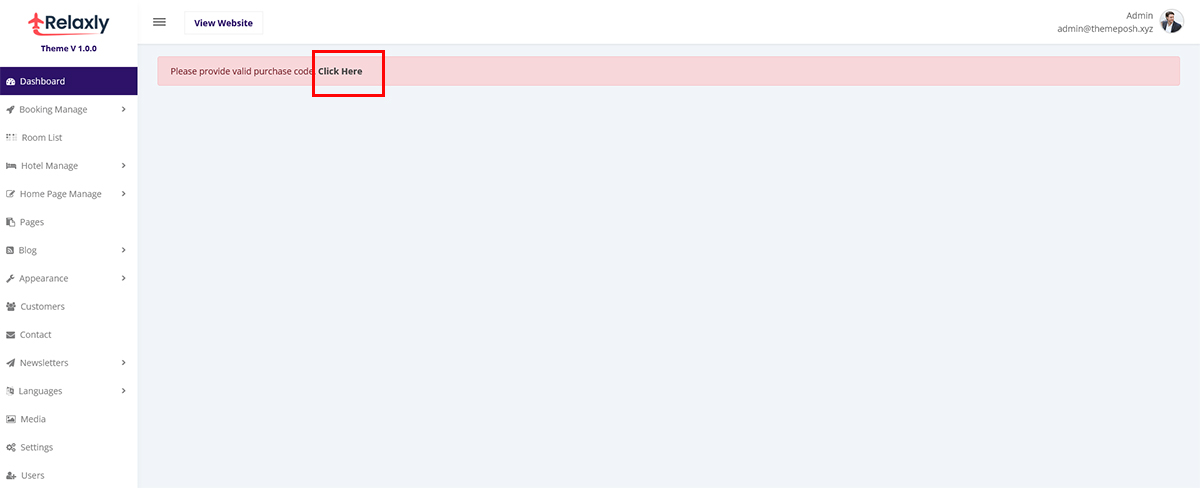
- When you login to the admin panel, the following screen will meet you.
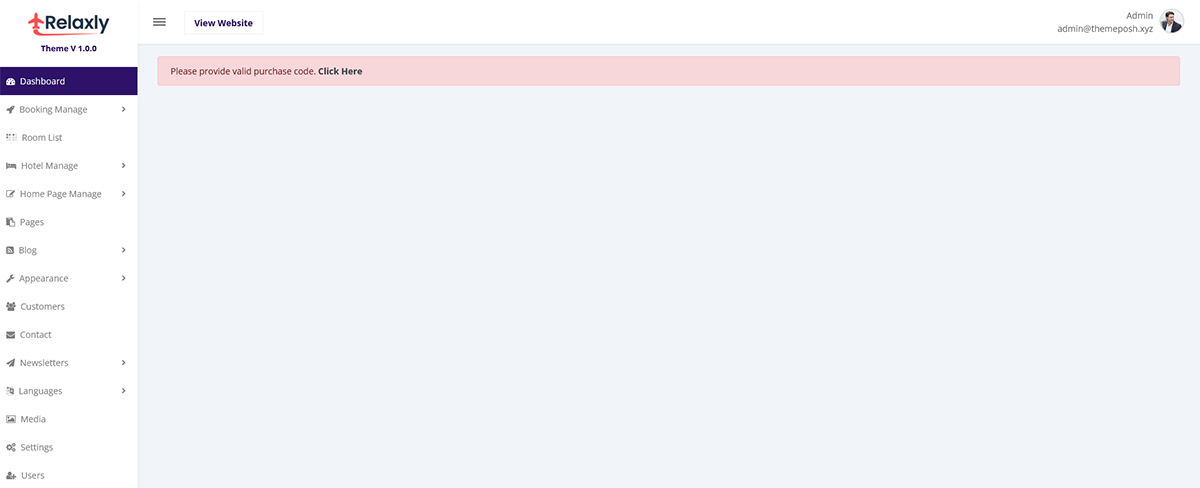
When you login to the admin panel, the following screen will meet you.
- Click on the Click Here text.
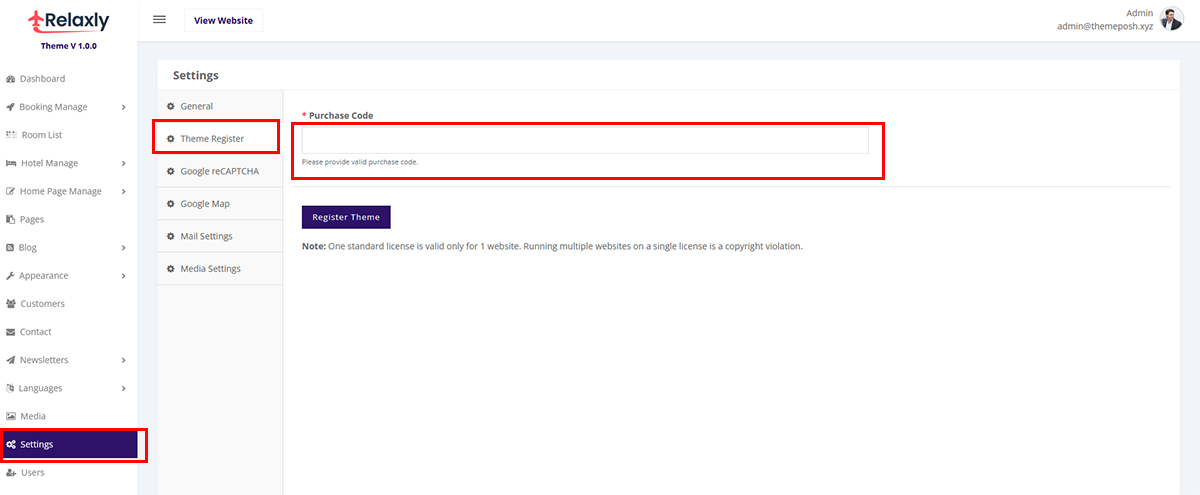
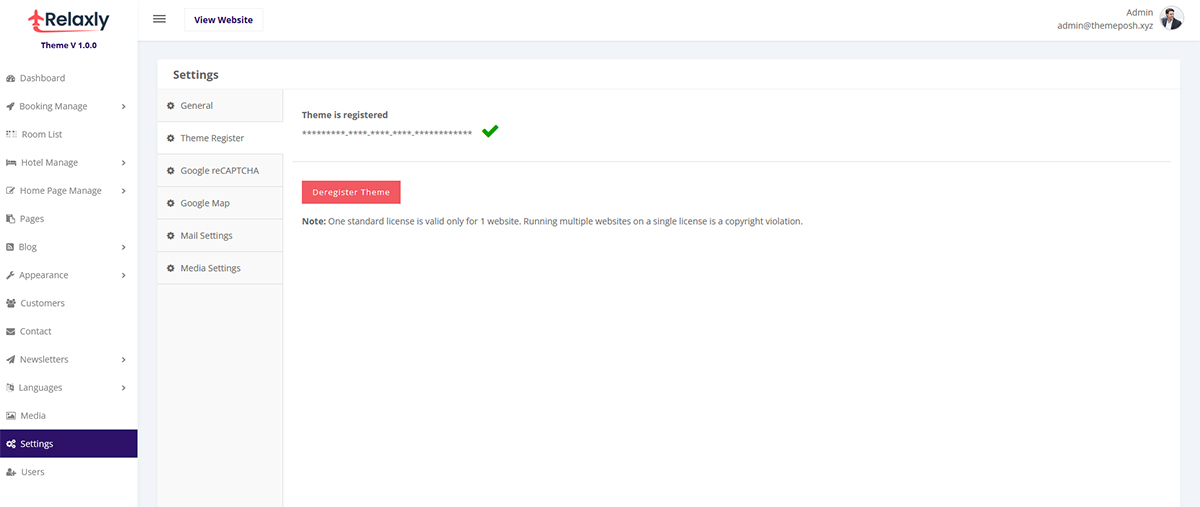
- Click on the Theme Register tab.
- Provide valid purchase code and click on the Register Theme button.
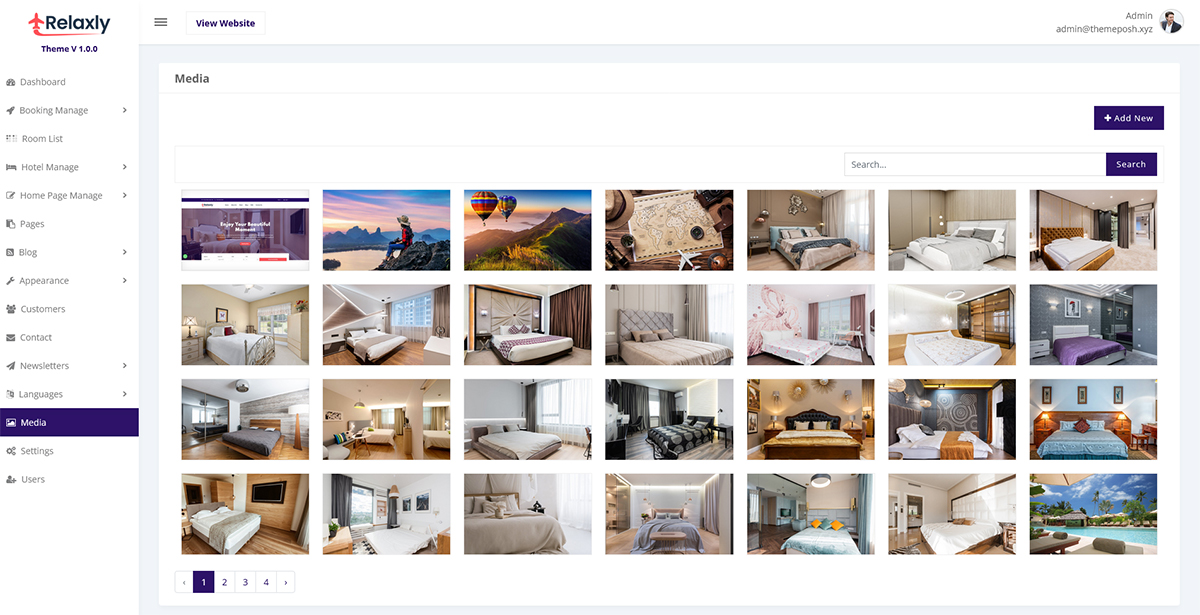
Logo and Favicon:
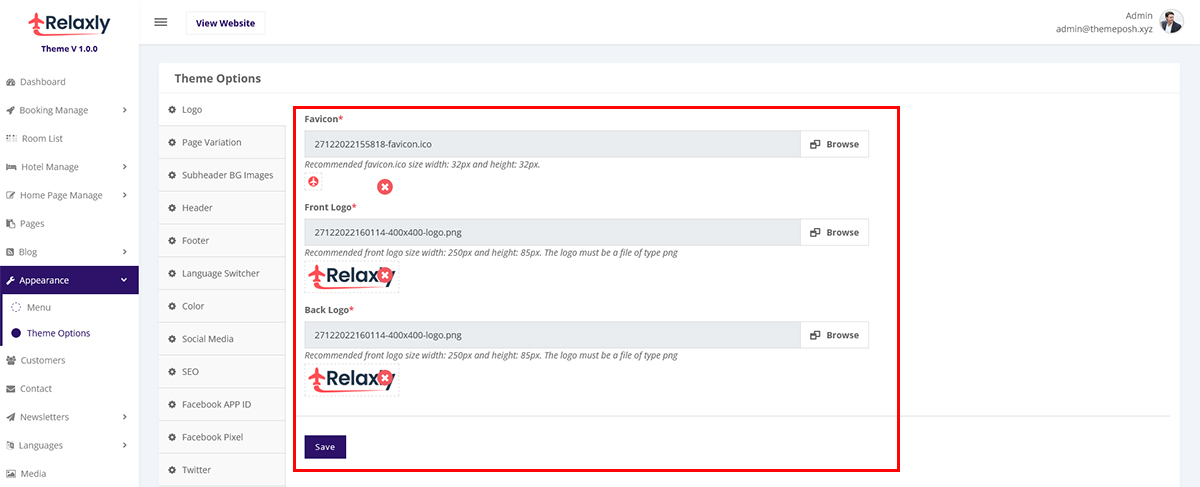
- You can change easily logo and favicon
Subheader BG Images:
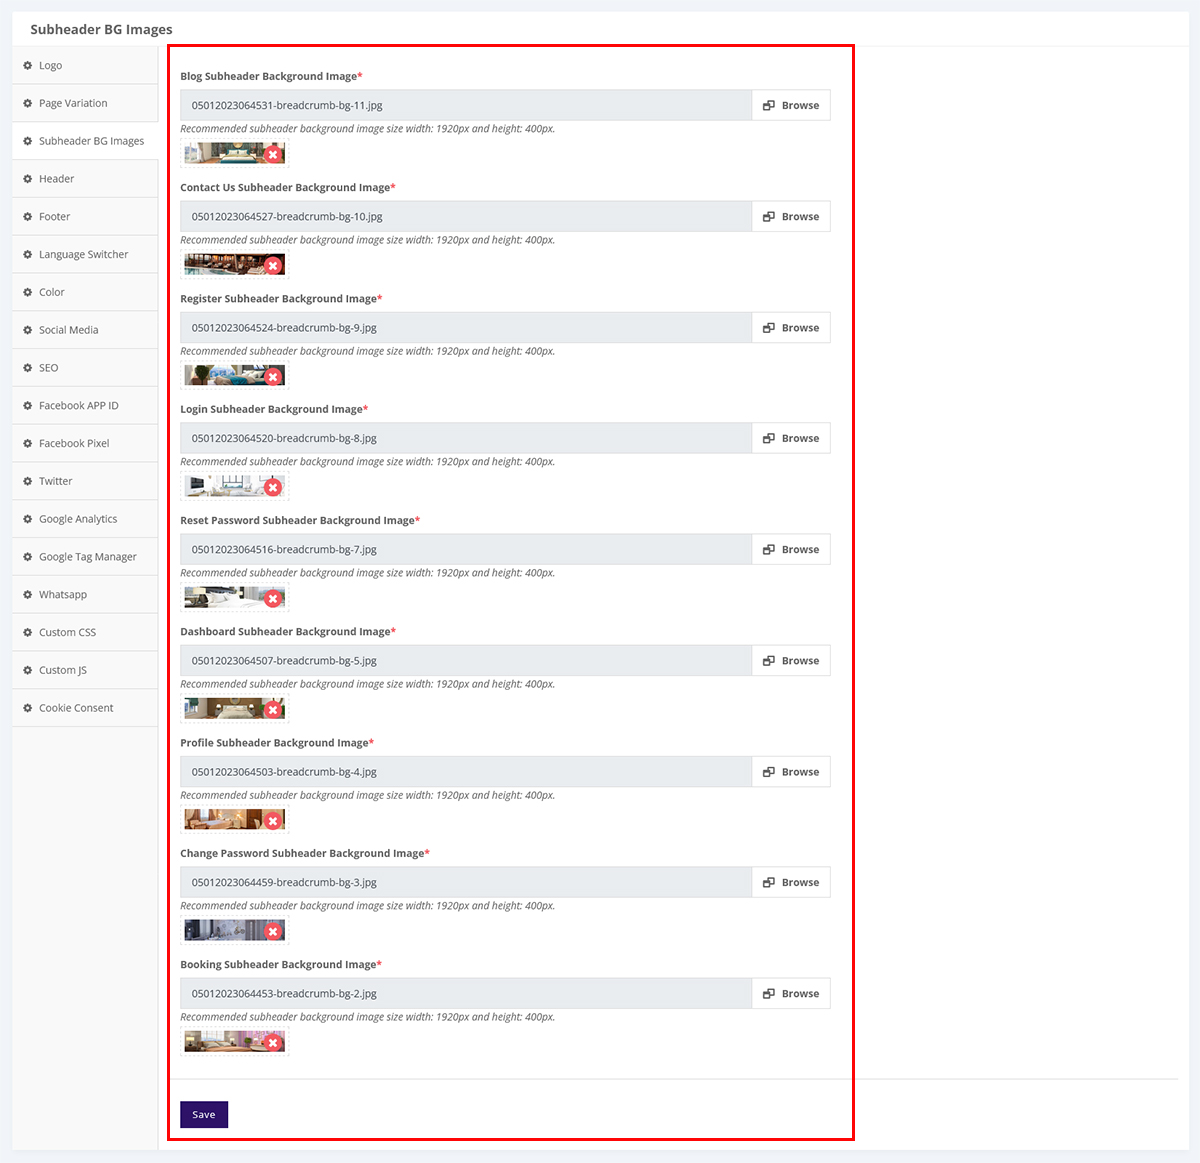
- You can manage home page section
Header:
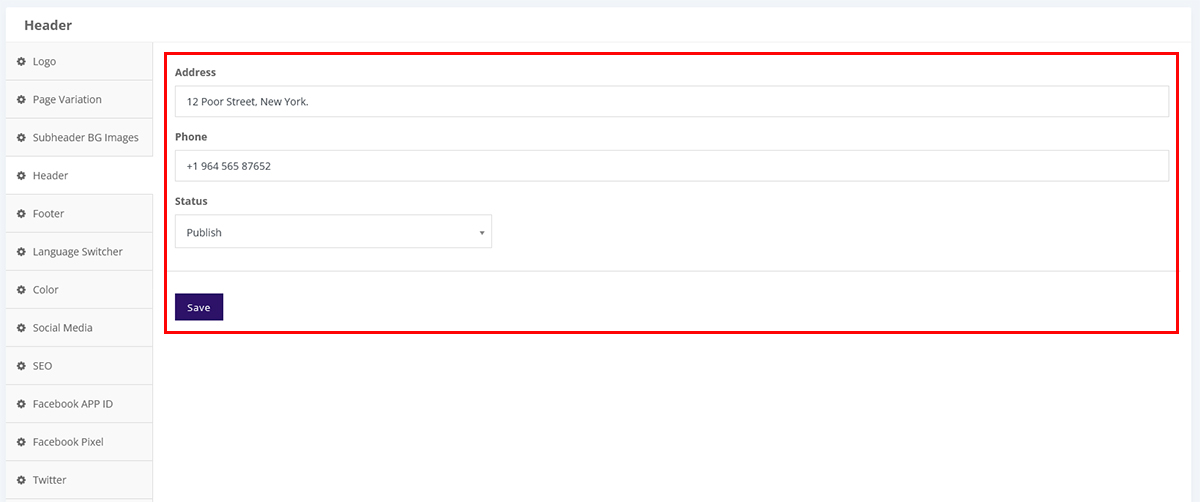
- You can change easily header text
Footer:
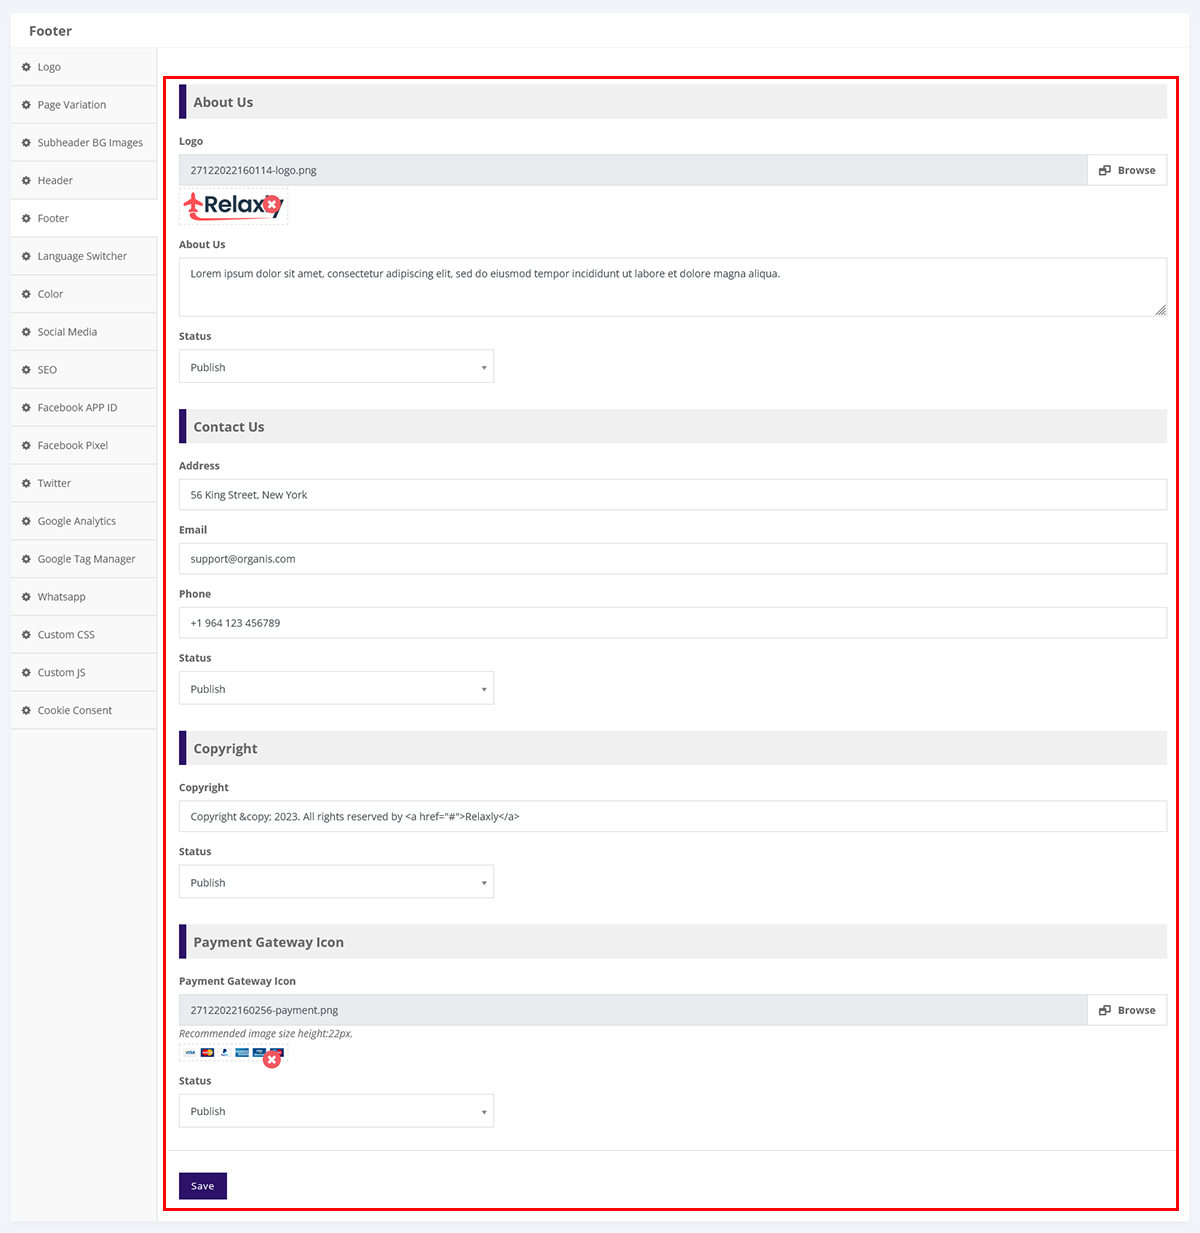
- You can change easily footer Contact Us, Copyright and Payment Gateway Icon
Language Switcher:
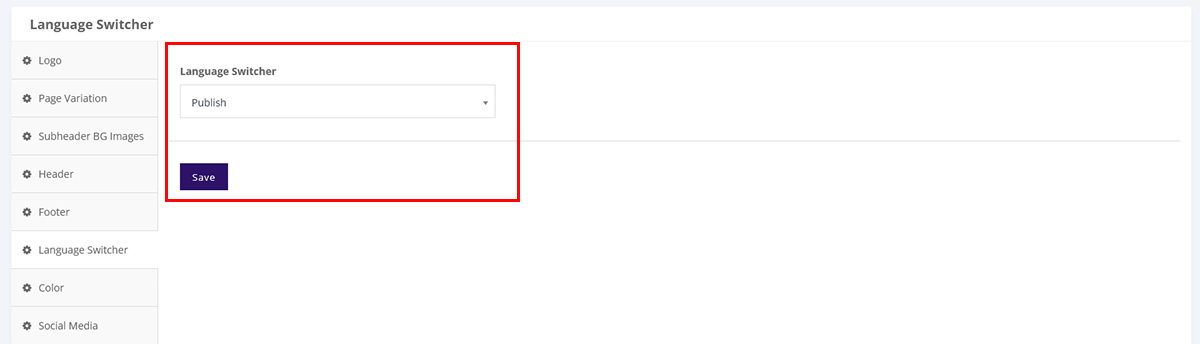
- You can active/Inactive language switcher.
Color:
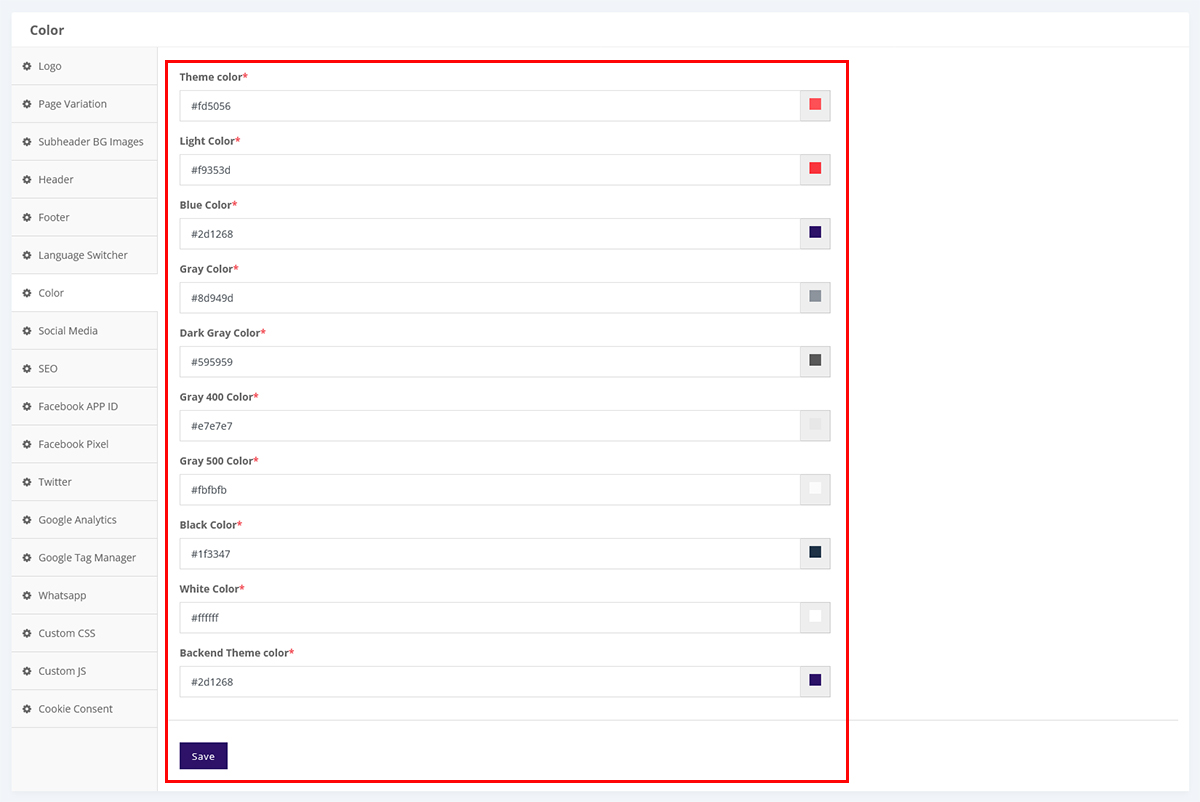
- You can change easily theme color.
Social Media:
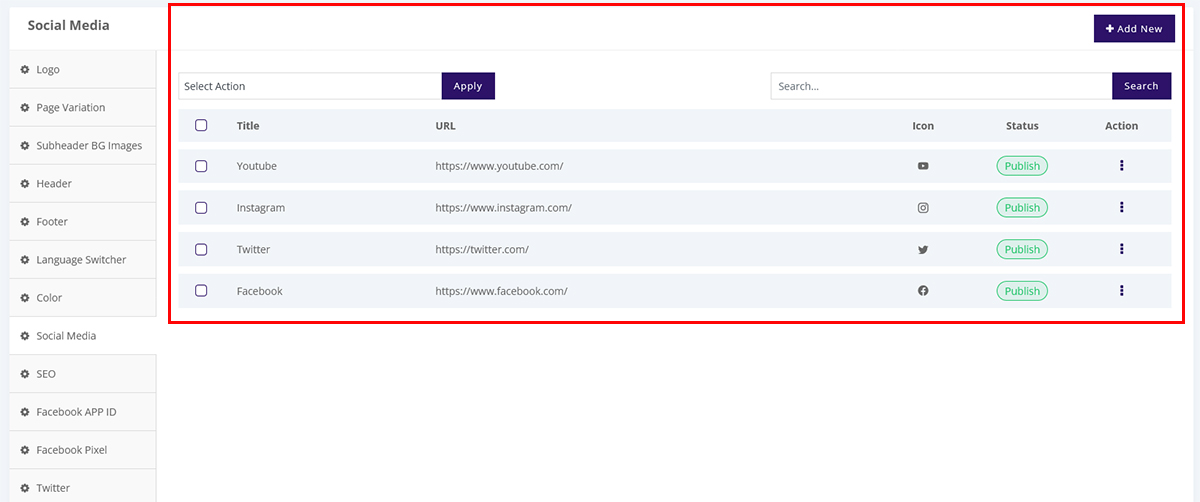
- You can add, edit and delete social media link.
SEO:
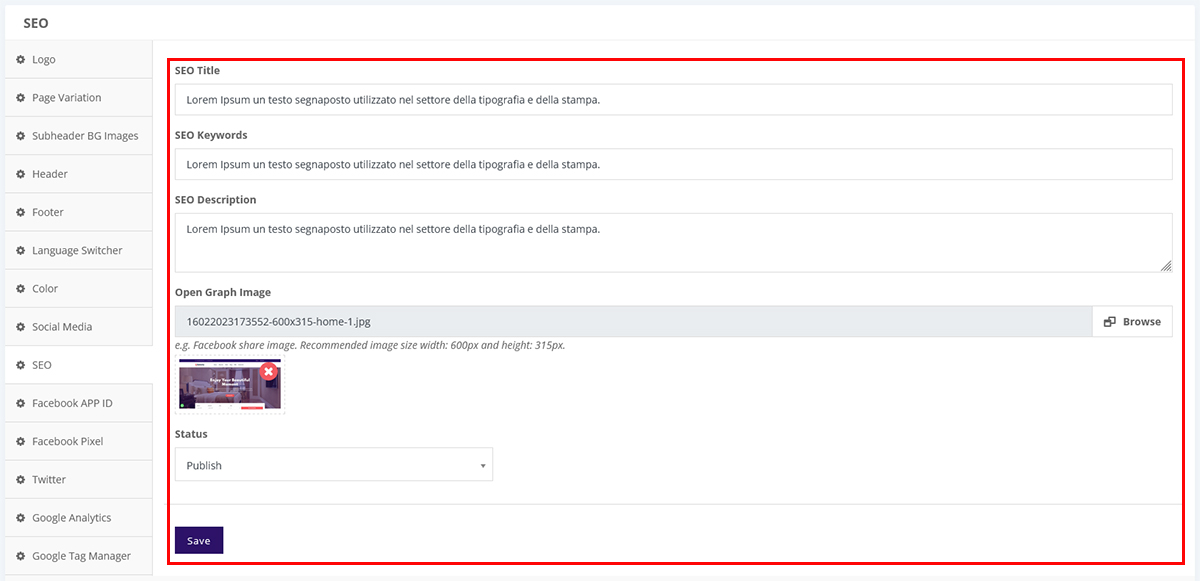
- You can change your SEO content.
Facebook APP ID:
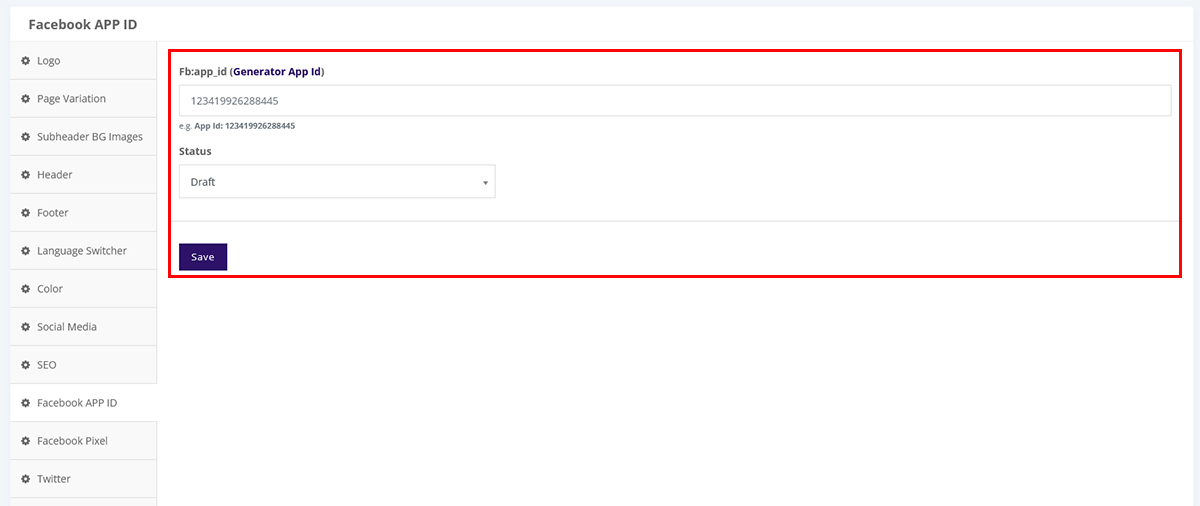
- You can change your Facebook APP ID.
Facebook Pixel:
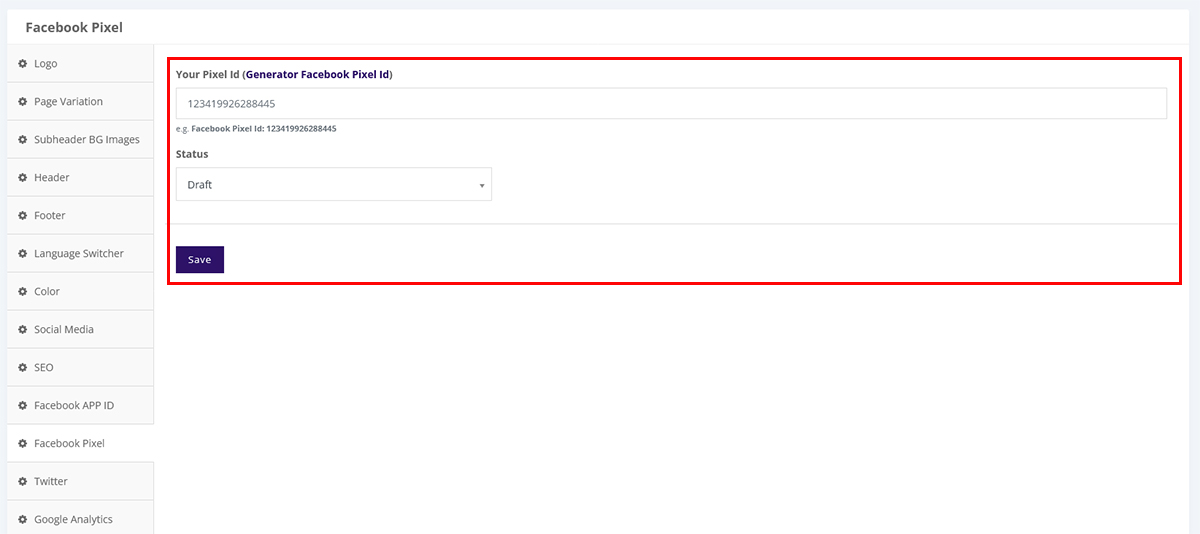
- You can change your Facebook Pixel.
Twitter:
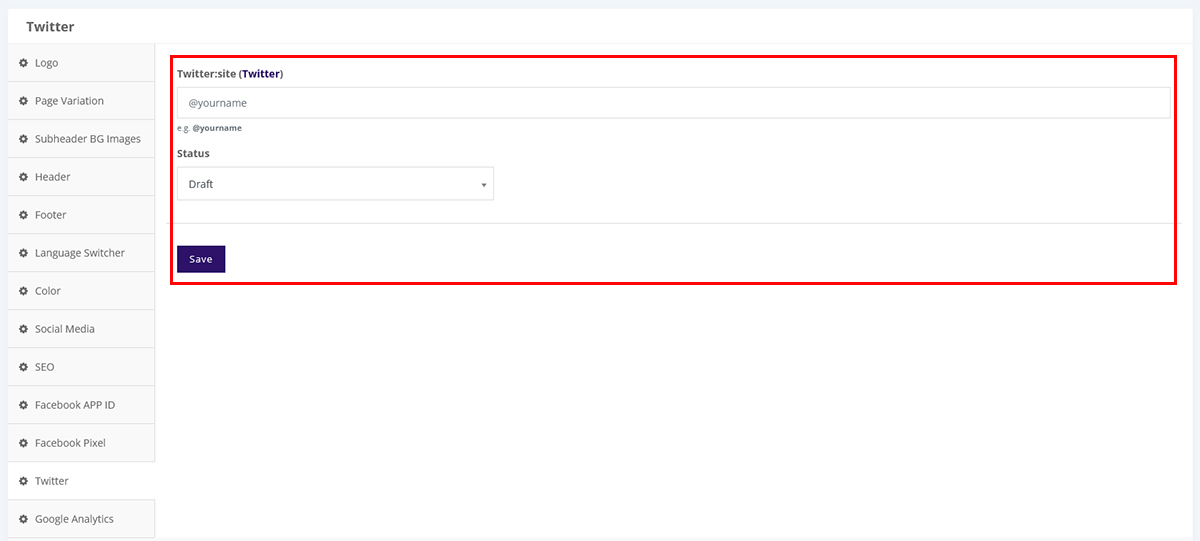
- You can change your Twitter ID.
Google Analytics:
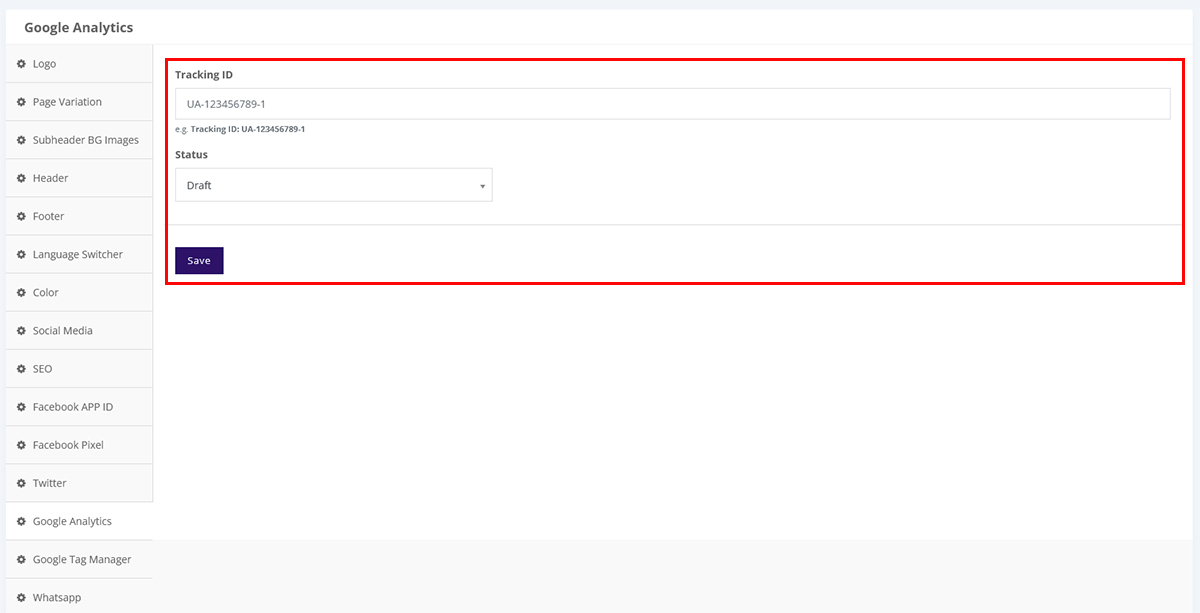
- You can change your Google Analytics Tracking ID.
Google Tag Manager:
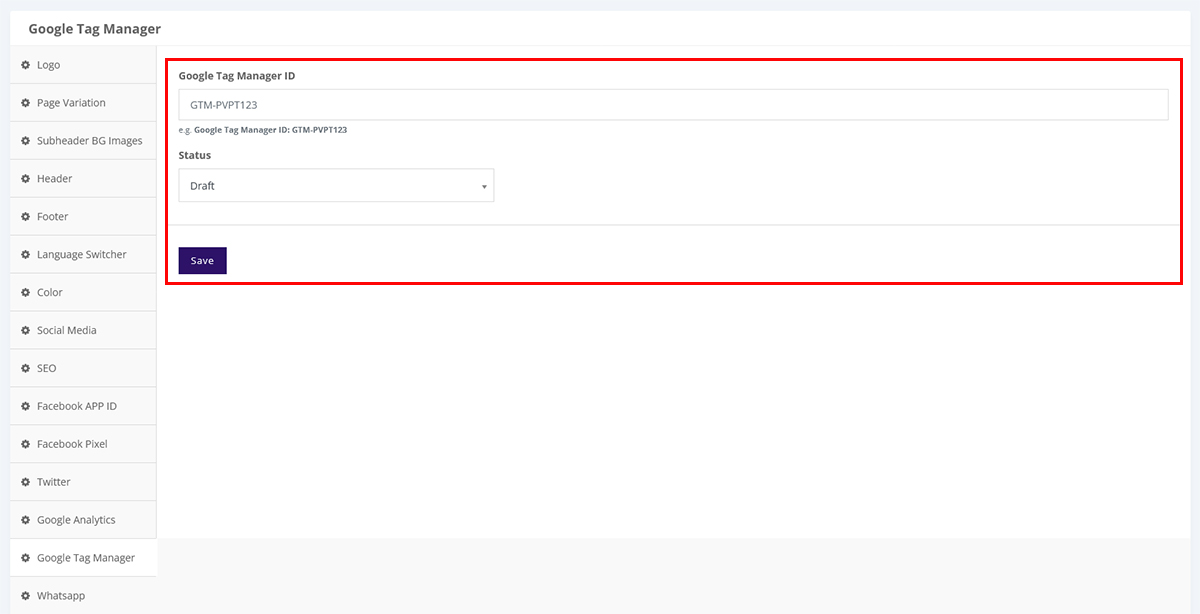
- You can change your Google Tag Manager ID.
Whatsapp:
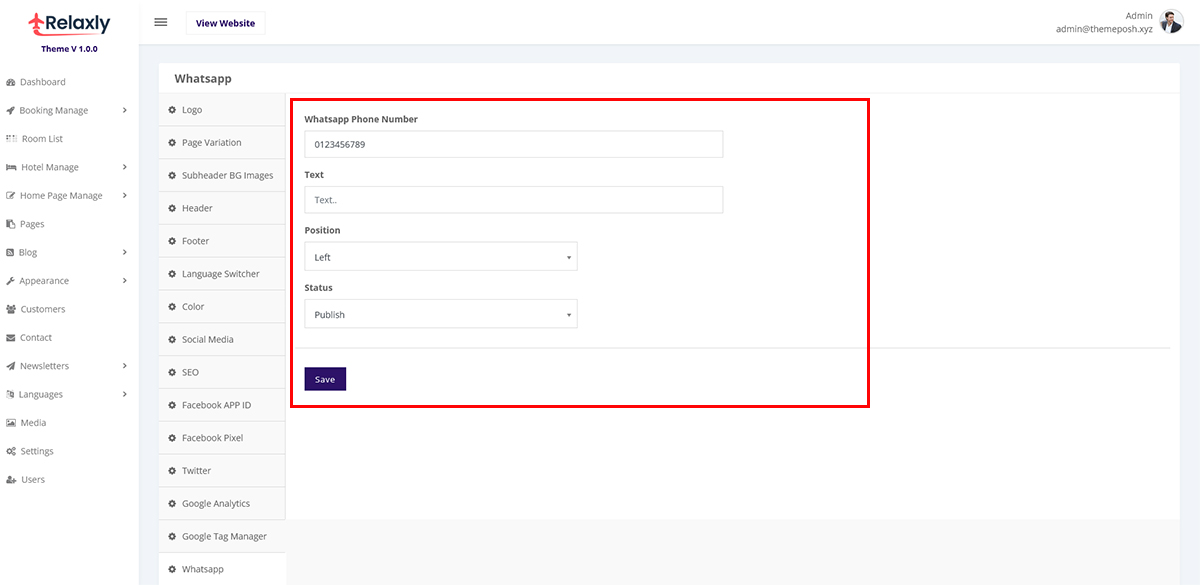
- You can change your Whatsapp Number and Text.
Custom CSS:
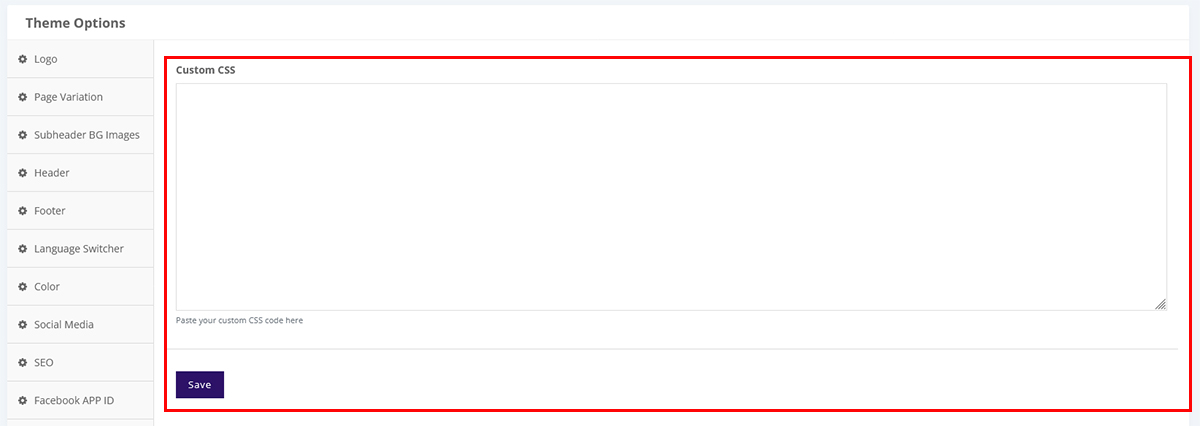
- You can add custom CSS.
Custom JS:
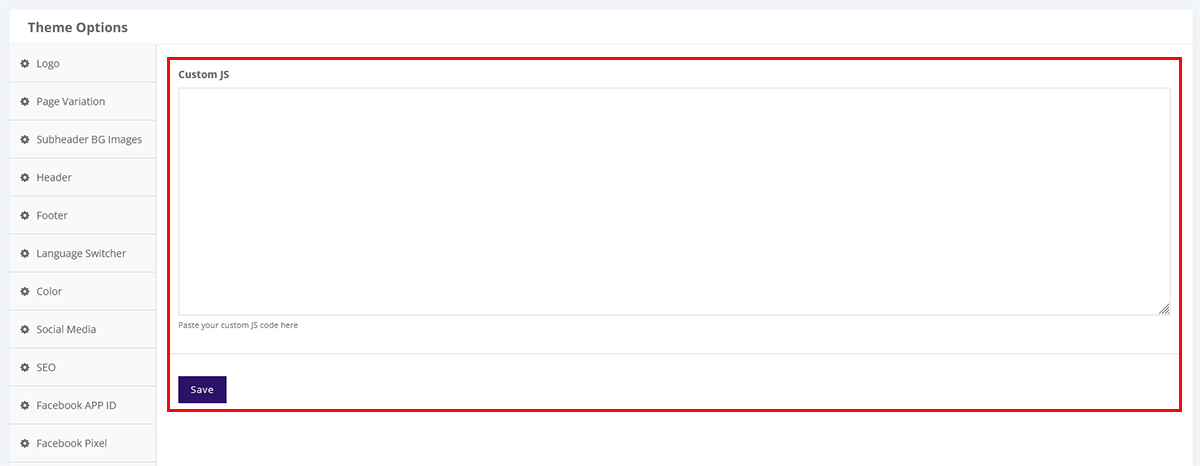
- You can add custom JS.
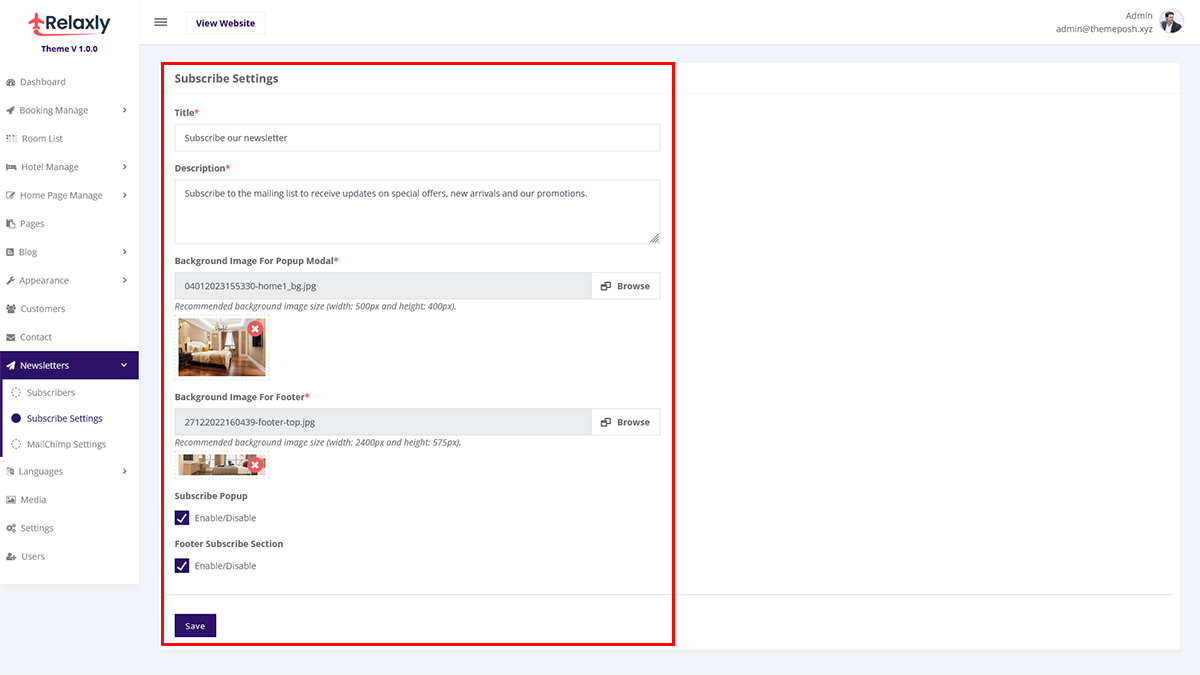
- You can change your subscribe popup description.
- You can subscribe popup Enable/Disable.
- You can footer subscribe box Enable/Disable.
You can manage your languages.
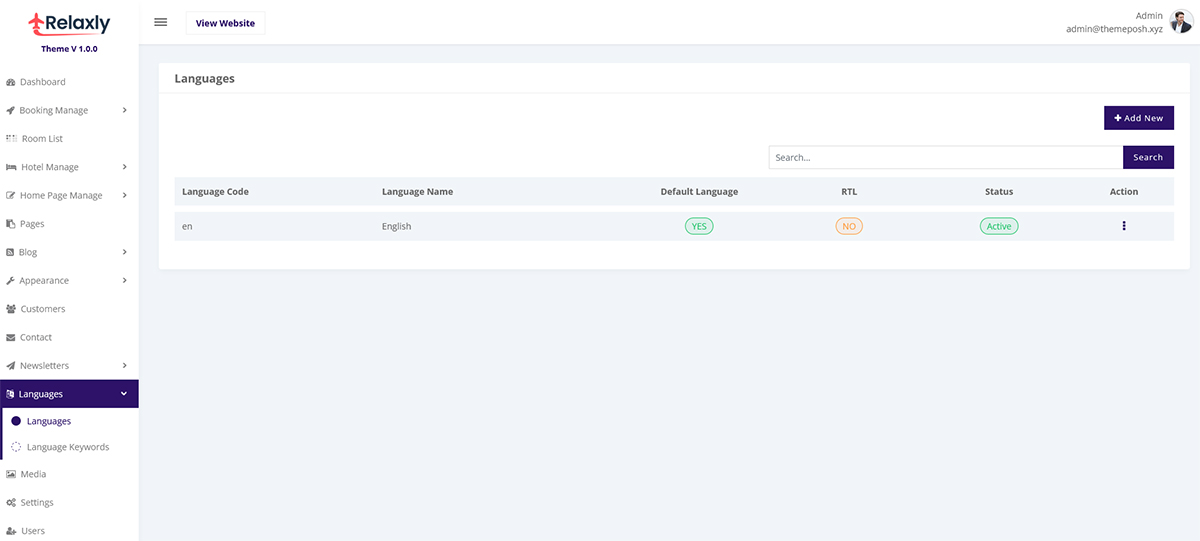
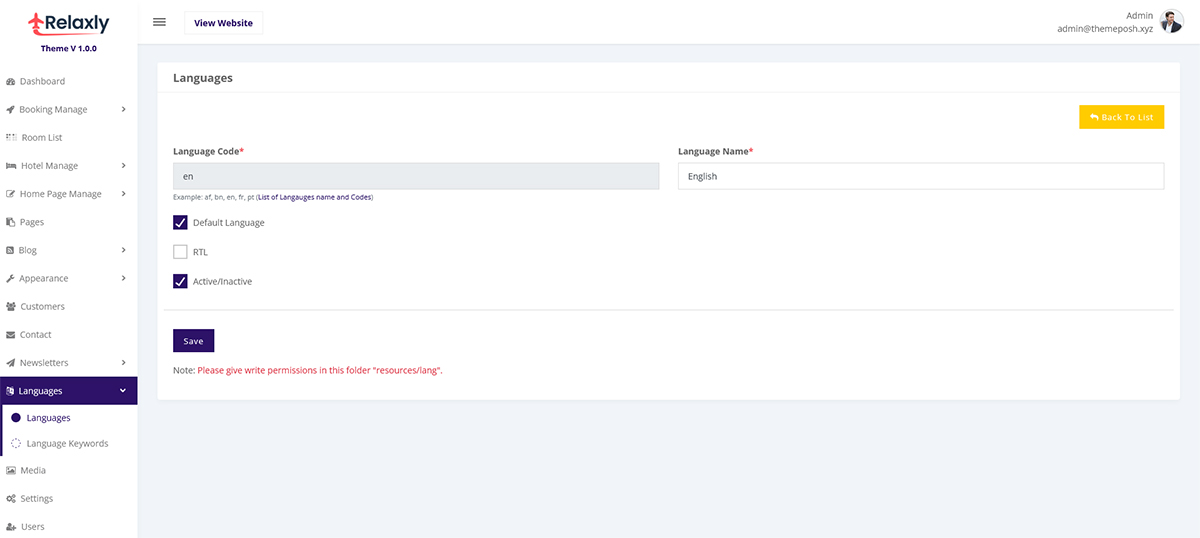
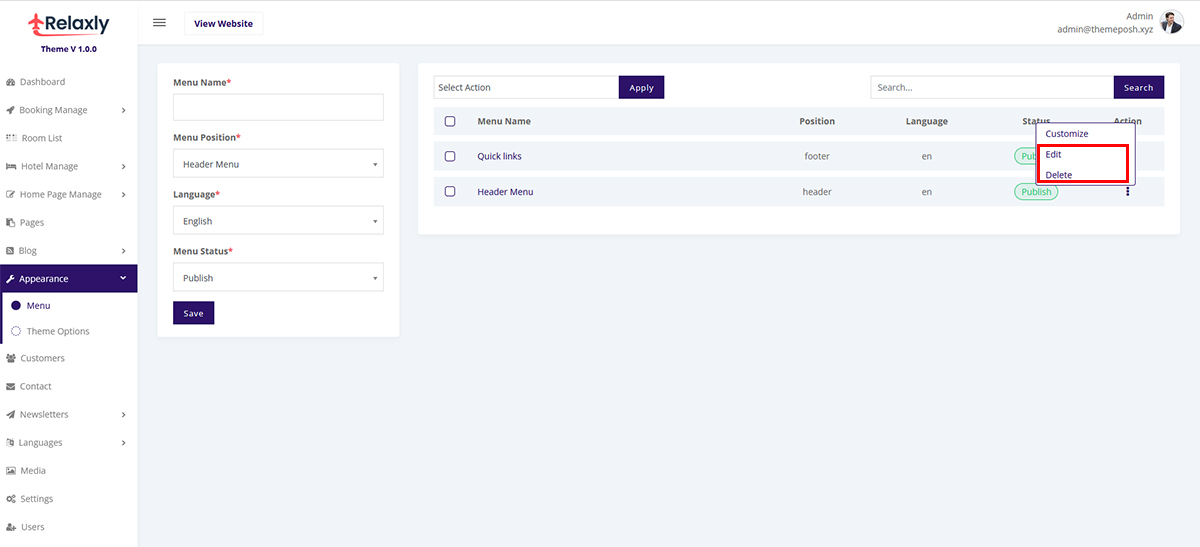
- You can create/edit/delete a language.
- Default Language Active/Inactive option.
- RTL Active/Inactive option.
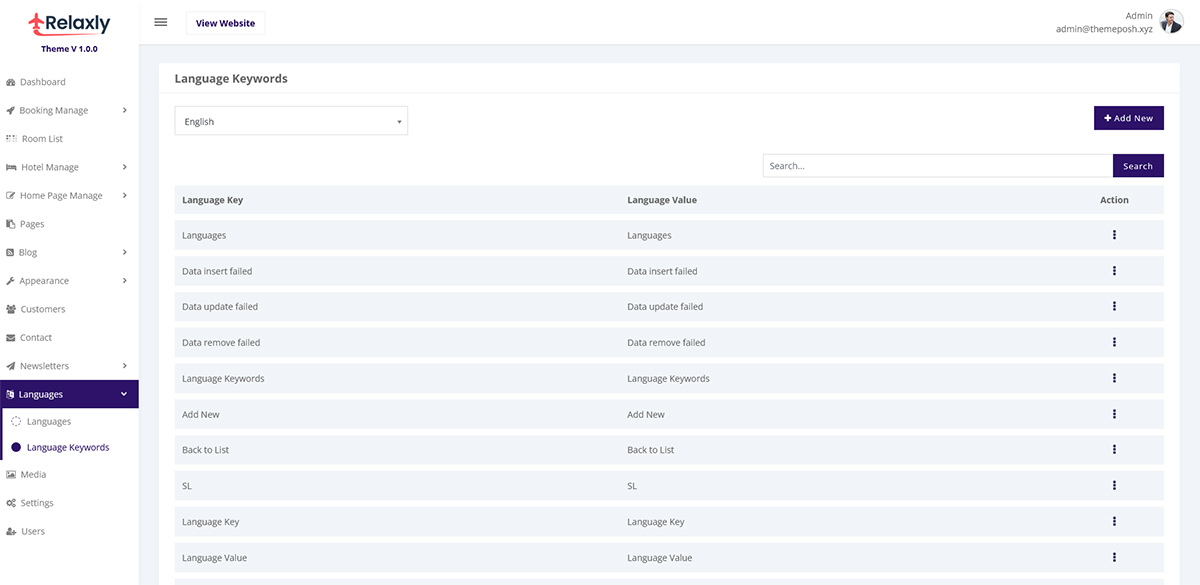
- You can create/edit/delete a language keywords.
Note: Please give write permissions in this folder "resources/lang".
Language Switcher:
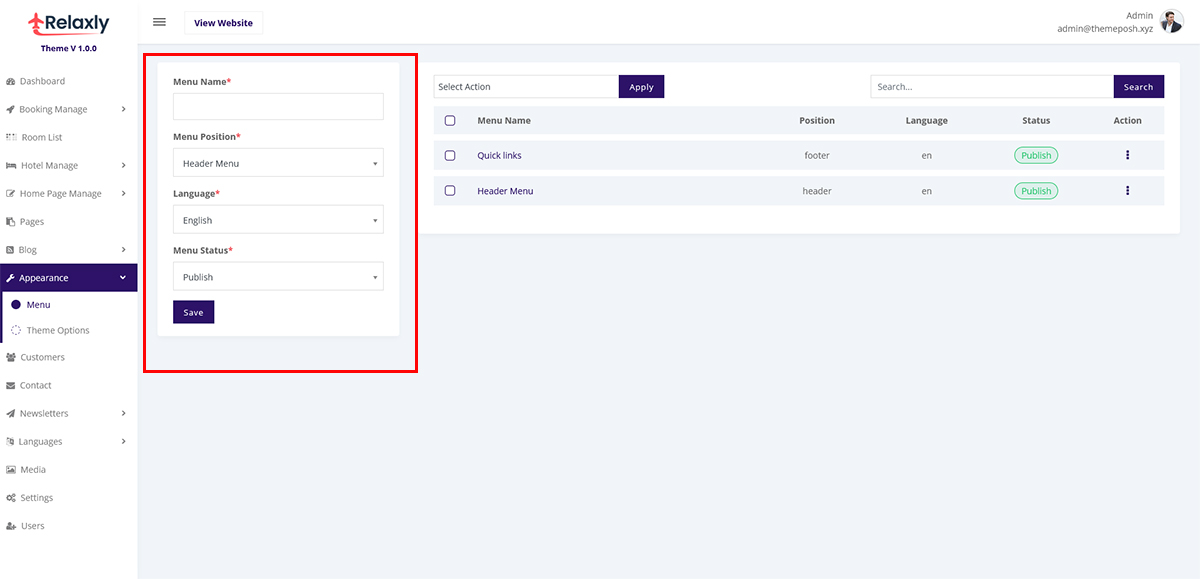
Go to Appearance -> Theme Options -> Language Switcher menu.
- You can active/Inactive language switcher.
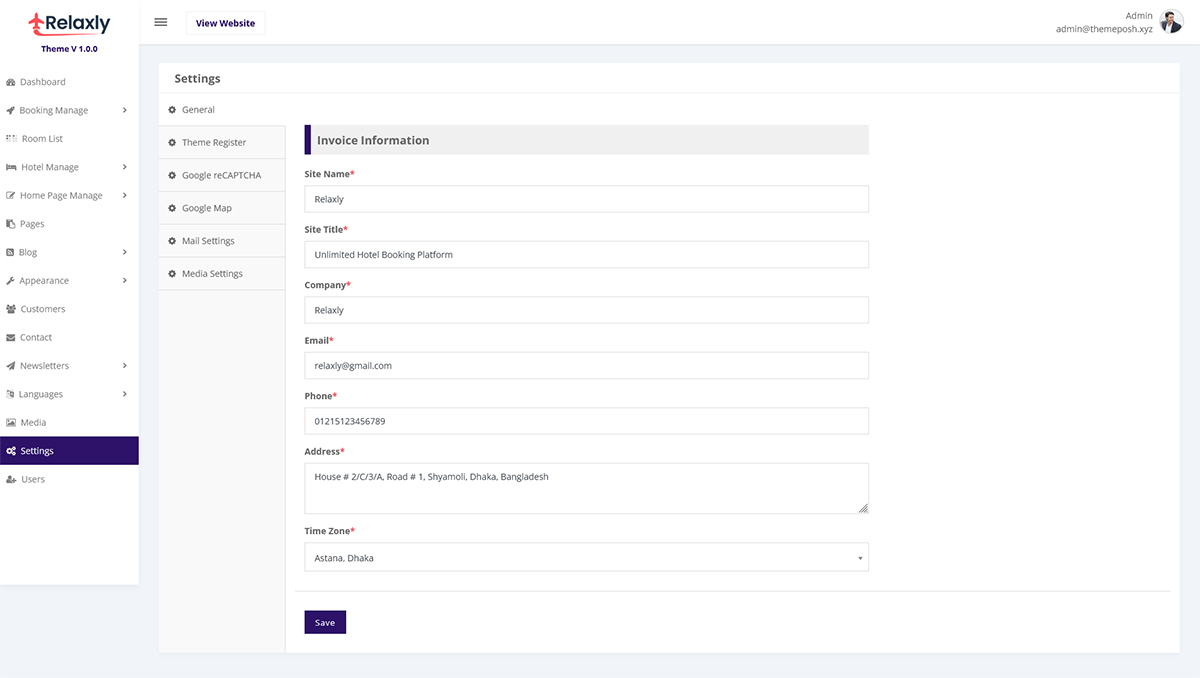
General:
- You can change:
- Site Name
- Site Title
- Company
- Email
- Phone
- Address
- Time Zone
You can change in Google reCAPTCHA section.
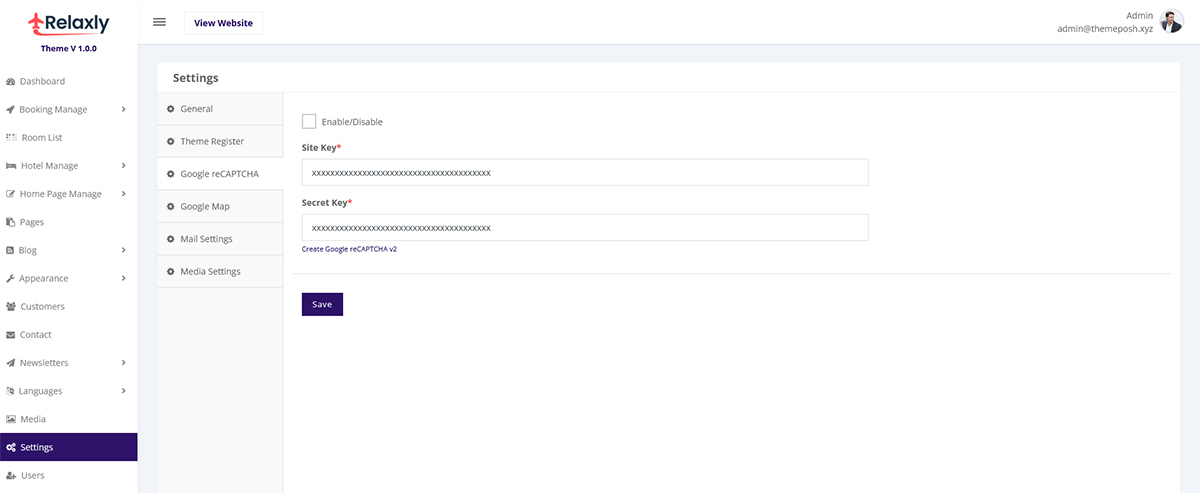
Google reCAPTCHA:
- If you want use Google reCAPTCHA in your site then at first Create Google reCAPTCHA v2.
- Google reCAPTCHA Enable/Disable for Forgot your password? and Sign up for an account pages.
- You can change Site Key, Secret Key and save.
You can change in Google Map section.
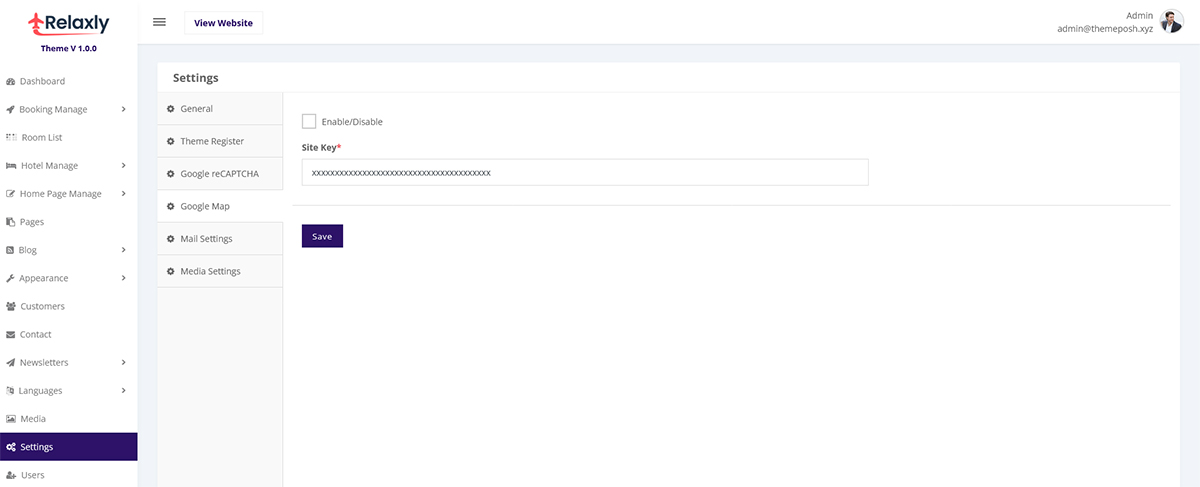
Google Map:
- If you want use Google Map in your site then at first Create Create API keys.
- Google Map Enable/Disable for Contact page.
- You can change API Key then save.
You can change in Mail Setting section.
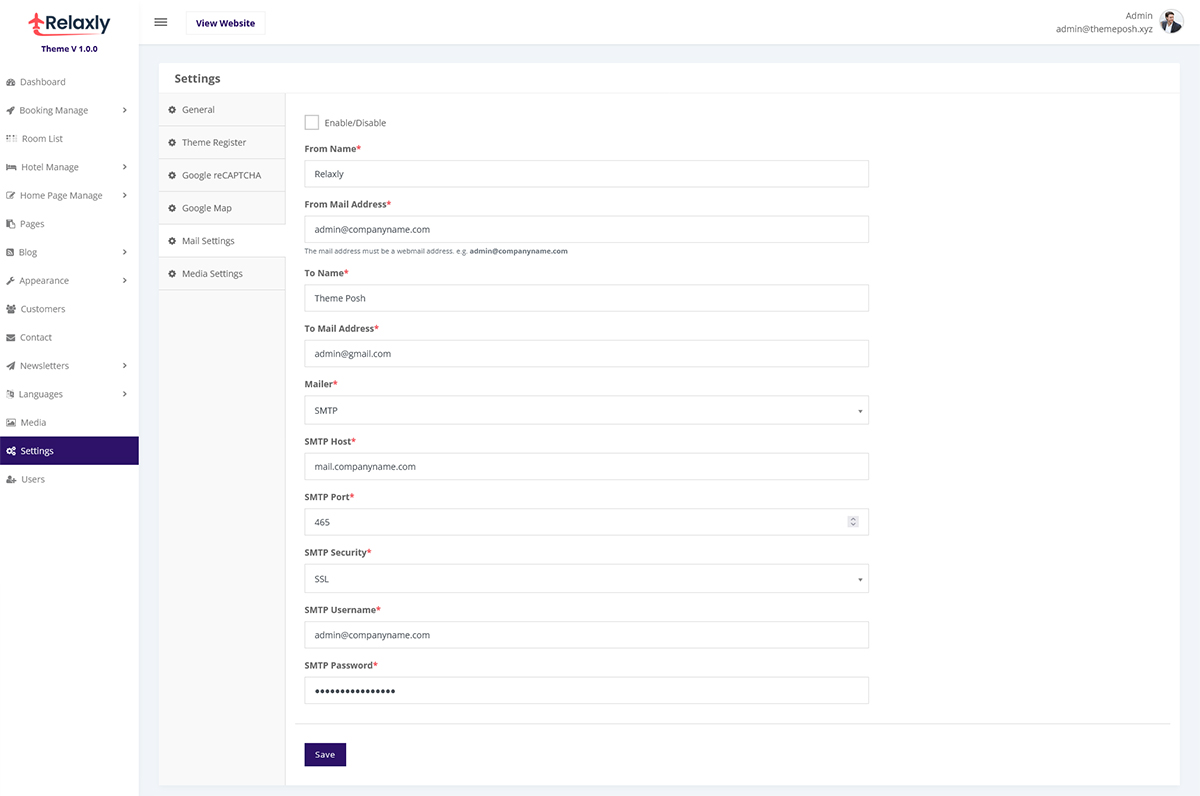
Mail Setting:
- If you want to get email notifications in your site then you select checkbox enable.
- If you want do not email notifications then you checkbox select disable.
- Change system mail address (The mail address must be a admin e-mail address. e.g. admin@companyname.com).
- You can change administrator recipient mail address(any mail address).
Note: Before doing upgrade, we suggest to make a backup of your site and database.
Step-1:
- You have made any changes on the code, css and js file. Backup them first so you don't lose your work.
- Backup media folder (folder directory: public/media) - here are the uploaded images
- Backup resource/lang/your_locale - modified and created language files
- Backup .env file
Step-2:
- Download the code from CodeCanyon
- The relaxly-[version-number] folder directly upload it on your hosting, in the same place where your existing site is.
- Overwriting old all files
Step-3:
- Restore your backup old files. As like: .env file and media folder etc.
- Restore your resource/lang/your_locale - modified and created language files
- If you have any changes code, css and js file
v1.2.3 (25/03/2026)
- Laravel Framework Upgrading To 13.0 from 12.x
- Laravel Packages Upgrading
v1.2.2 (11/11/2025)
- Added a booking request notification feature that sends emails to the receptionist mail address (To Mail Address).
v1.2.1 (16/04/2025)
- Laravel Framework Upgrading To 12.0 from 11.x
v1.2.0 (06/07/2024)
- Laravel Framework Upgrading To 11.0 from 10.x
v1.1.1 (14/01/2024)
- Laravel Framework Upgrading To 10.0 from 9.x
v1.1.0 (24/11/2023)
- Booking calculation bug fixed
v1.0.0 (25/02/2023)
- Initial Release